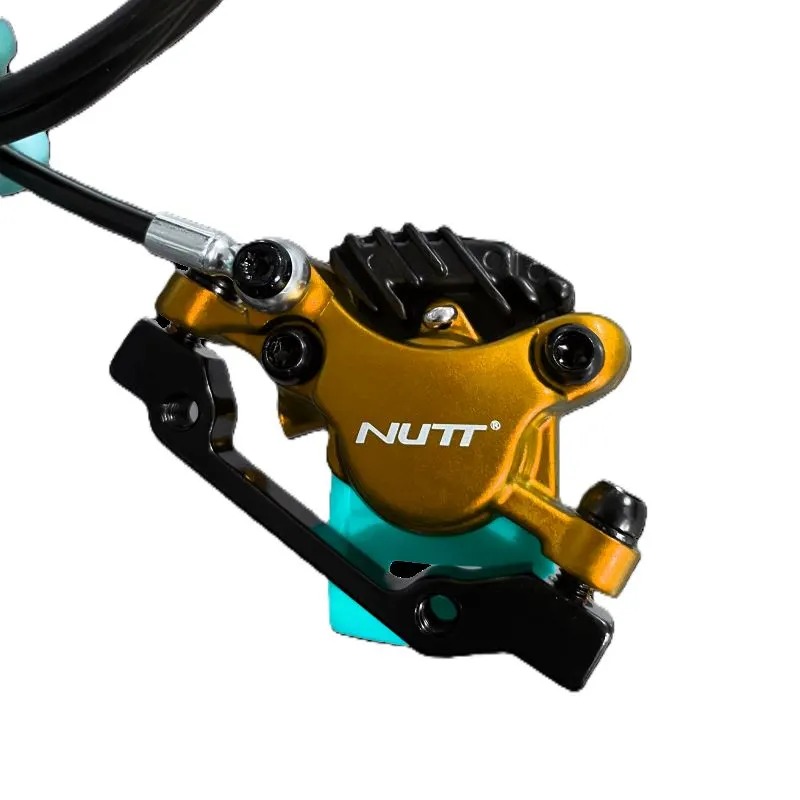
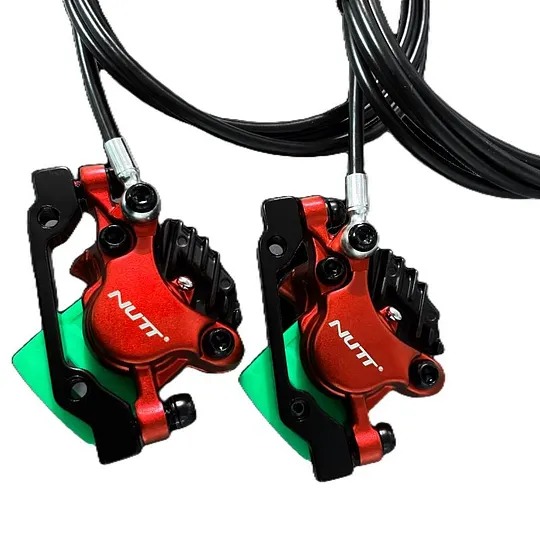
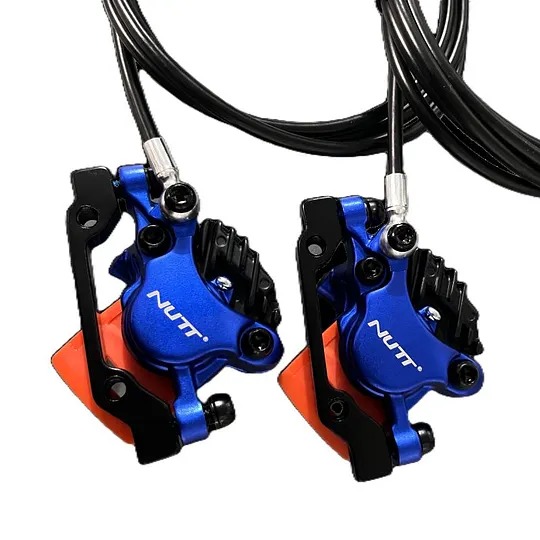
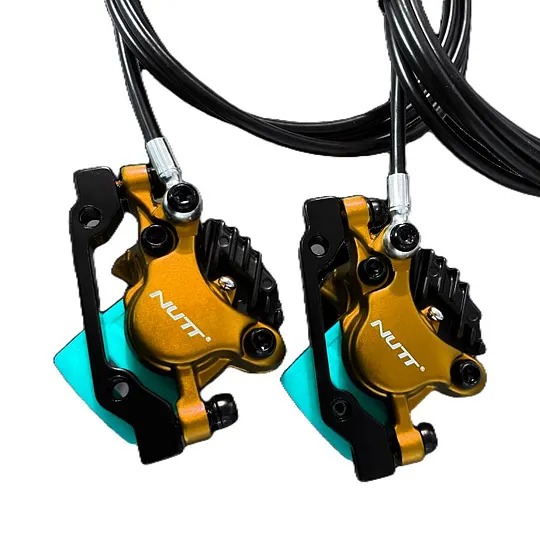
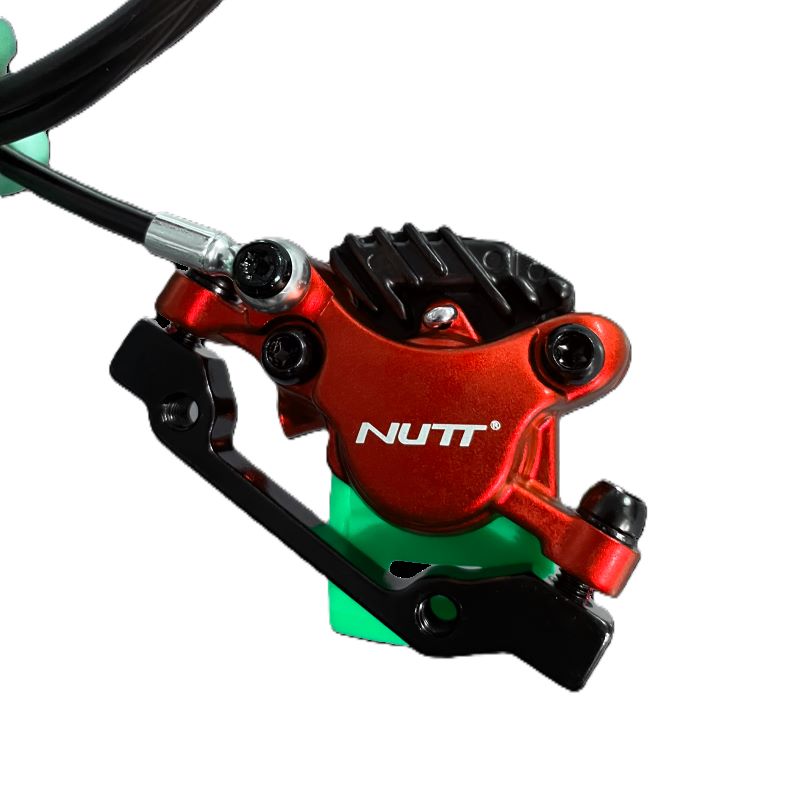
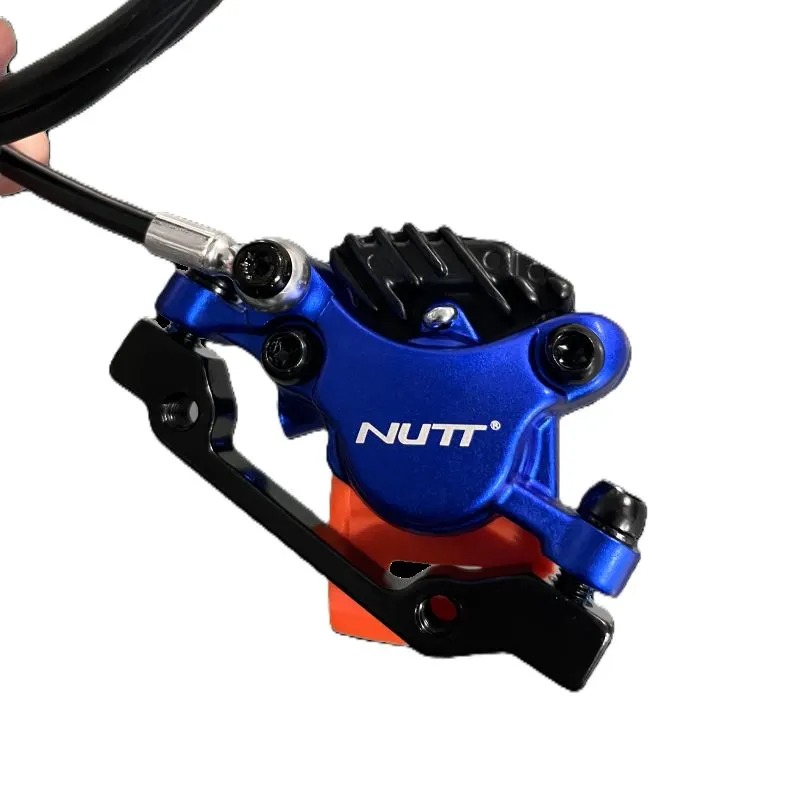
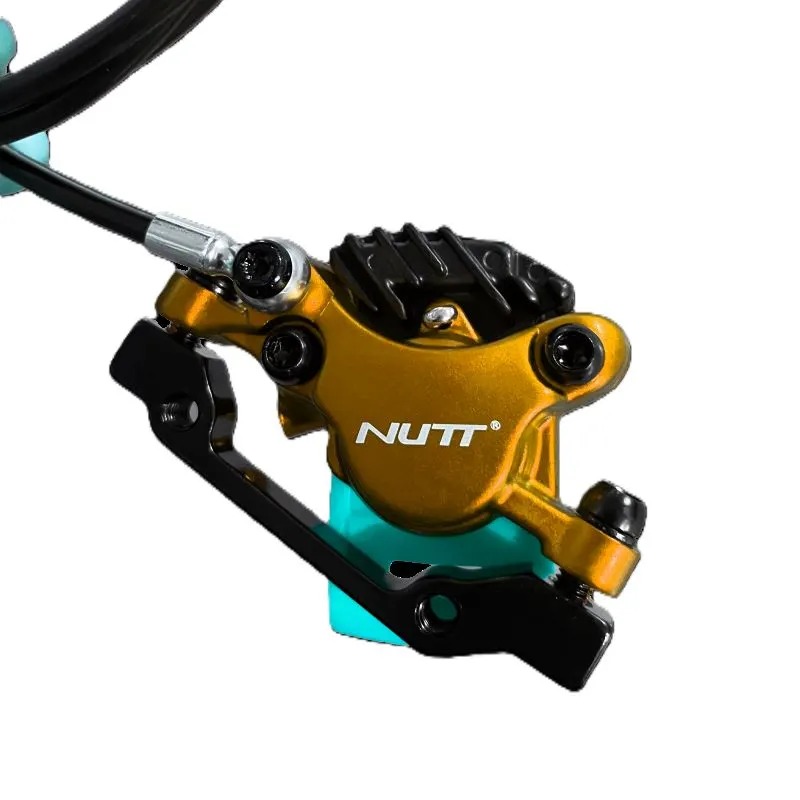
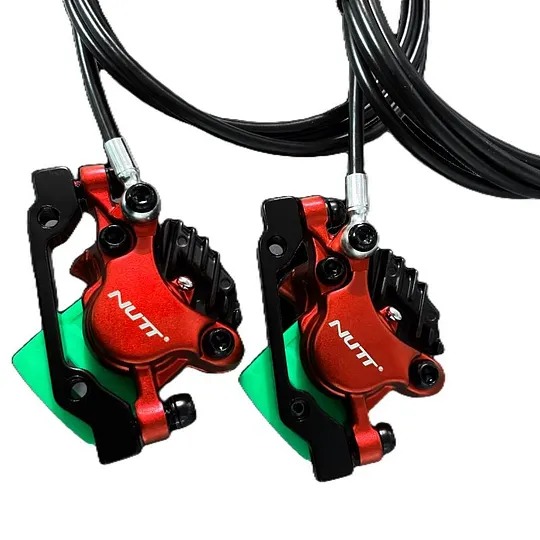
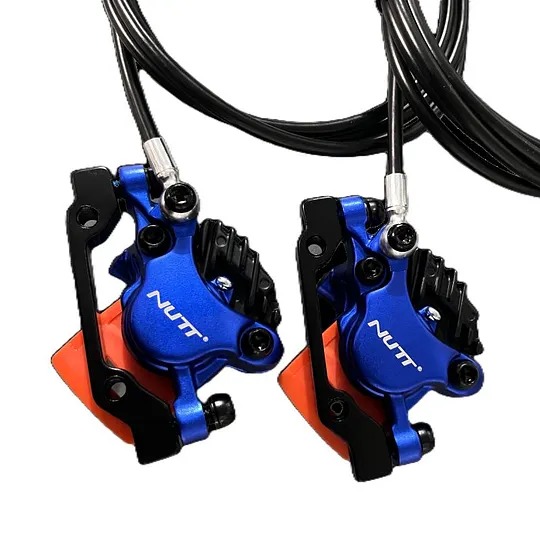
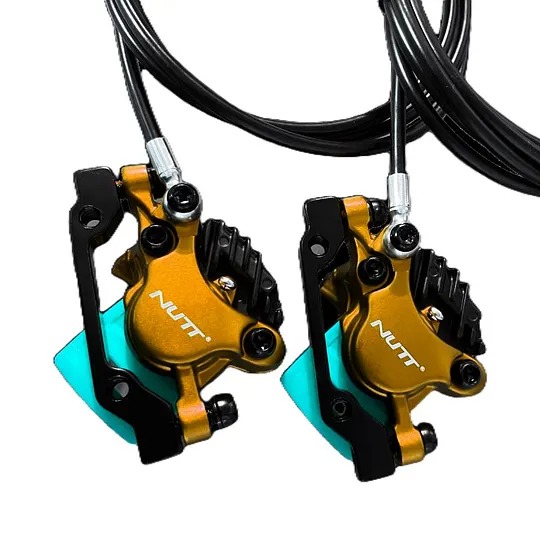
NUTT Hydraulic Disc Brake Upgrade Kit for KuKirin Electric Scooters

Compatible with selected KuKirin electric scooters. Pre-bled 2-piston hydraulic braking system for smoother control and integrated motor power cutoff.

Compatible with selected KuKirin electric scooters. Pre-bled 2-piston hydraulic braking system for smoother control and integrated motor power cutoff.

€126,00 EUR
€139,00 EUR
Model
Position
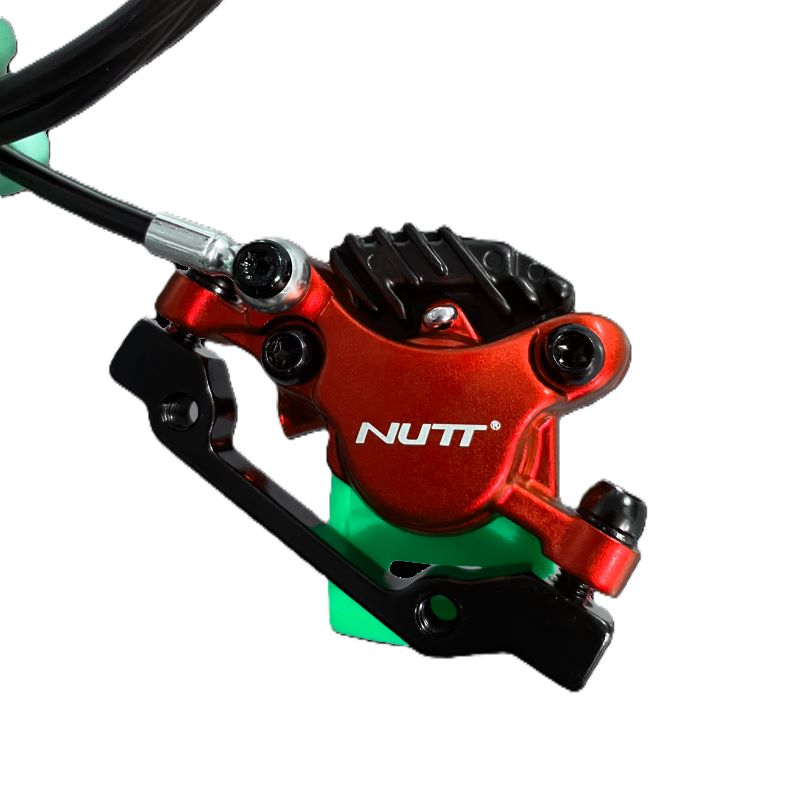
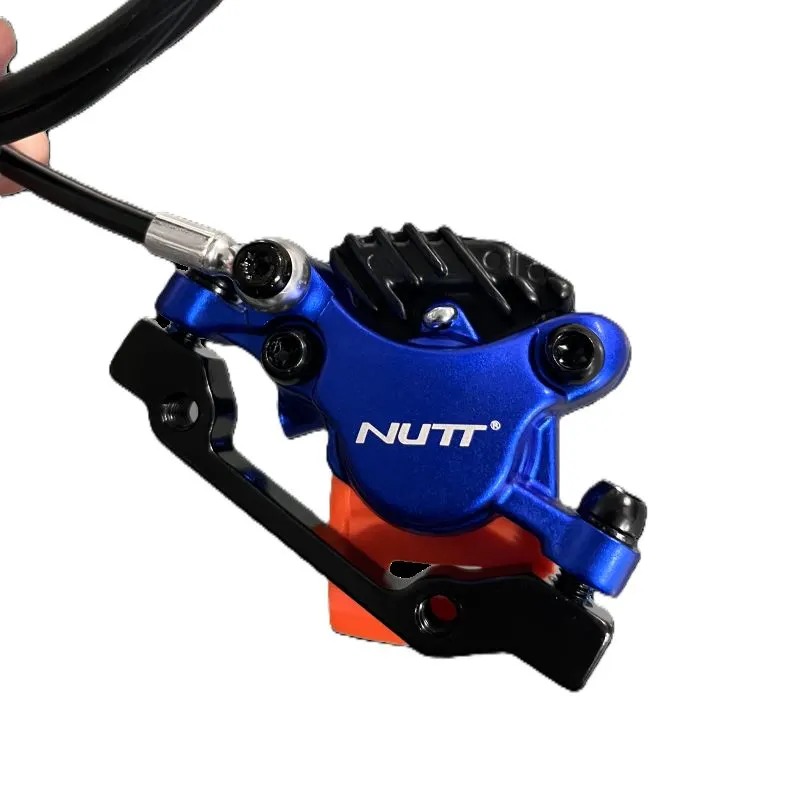
Color
NUTT SPECIAL OFFER
Get 20% OFF

Copy the code and use it at checkout.

04 Days
:
00 Hours
:
00 Mins
:
00 Secs
What is included?
  • Free Shipping (7-14 Business Days Delivery)

  • All Prices Include VAT – No Extra fees

  • CE,DGT Certified – Compliant With EU Regulations

  • 1-Year Warranty Included

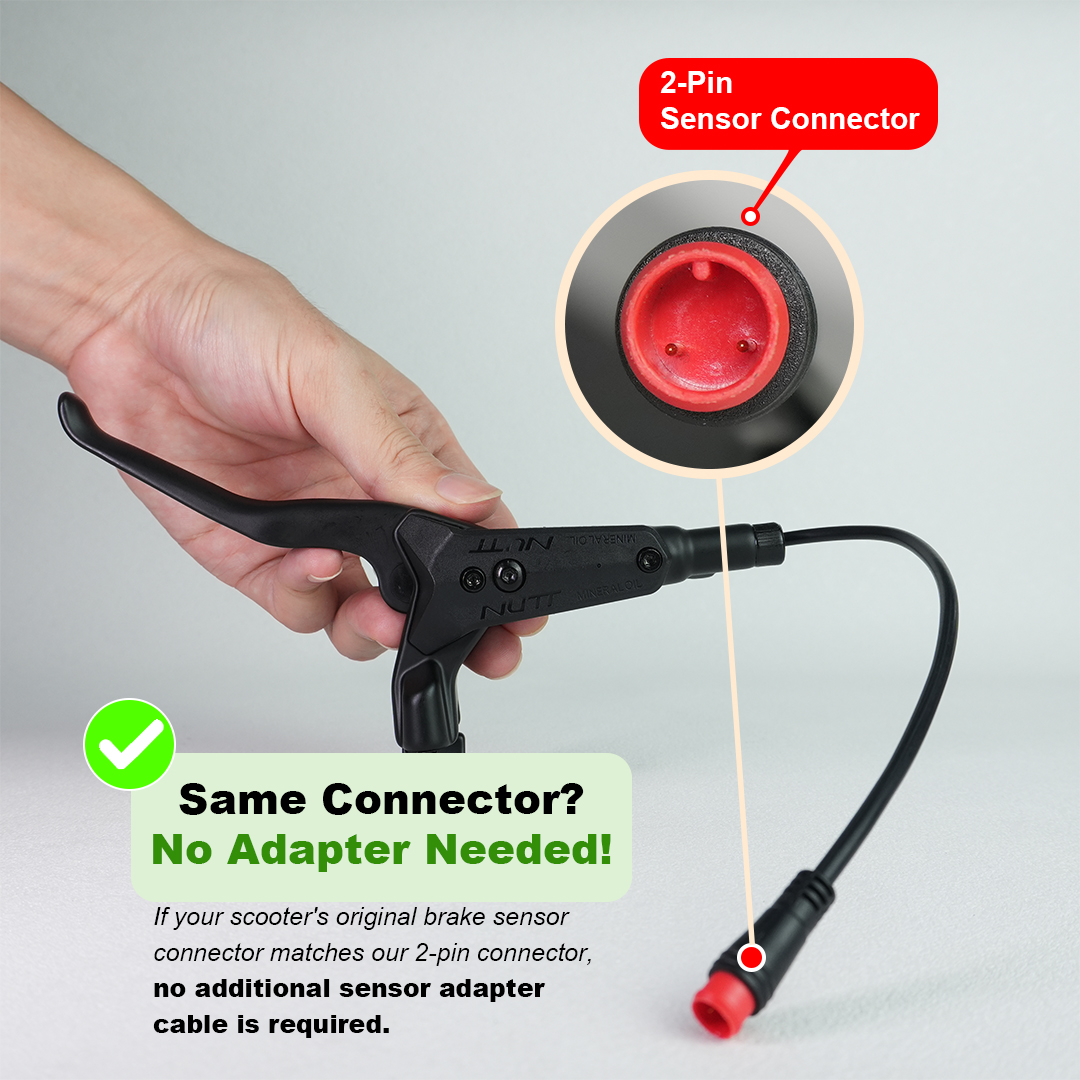
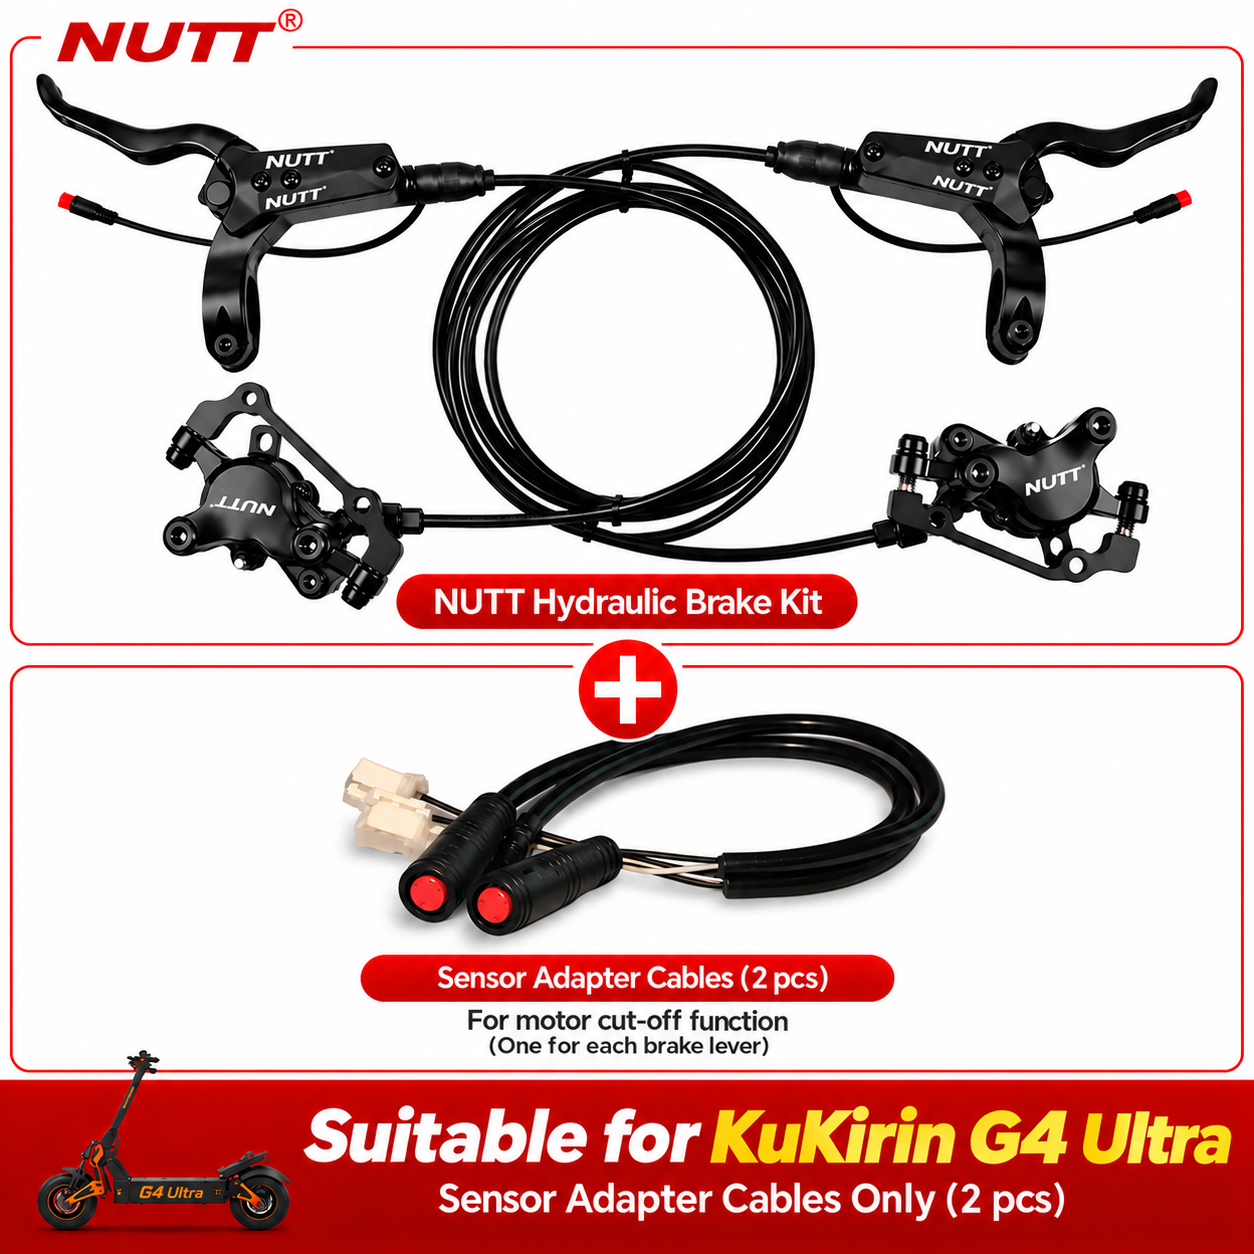
  • A dedicated adapter cable needs to be purchased separately when using this brake on the Kukirin G2/G2Ultra/G4.

Product description

KuKirin G2 Series & G4 Critical Notice

Upgrading these specific models requires strict attention to clearances to avoid crushing your new calipers:

  • G2 Pro (23 vs 24): Front caliper choice changes based on the production year.
  • G2 Pro (Clearance): You MUST install a 5mm front brake disc spacer.
  • G2 Max (Warning): Maintain a >2mm gap before tightening to avoid caliper damage.
  • G4 Caliper: DO NOT throw away the original factory metal washers.
Must Read: 5 Mistakes to Avoid (G2 Pro & G2 Max Upgrade Guide)
NUTT Dual Piston

Controlled braking for your KuKirin upgrade

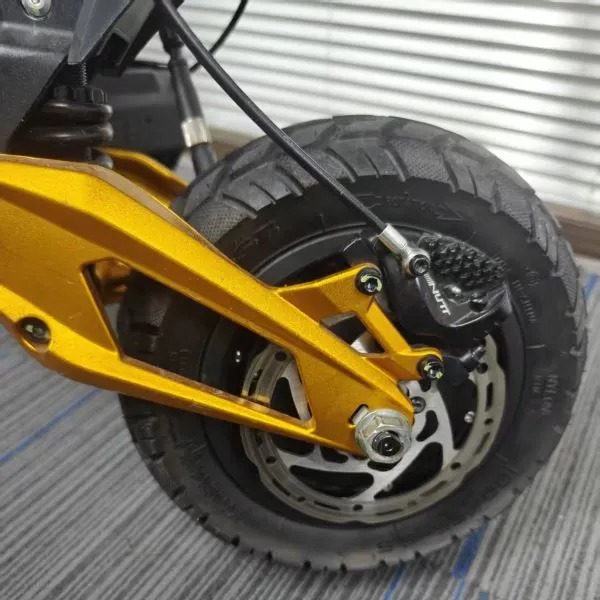
NUTT system uses an open hydraulic design with dual-piston calipers, forged aluminum construction, and mineral brake fluid. Select the correct position and confirm fitment before installation.

  • Open system, dual piston
  • Forged aluminum caliper body
  • Internal or swivel hose routing
  • Heat-dissipating pad compatibility
  • Adjustable reverse-version caliper
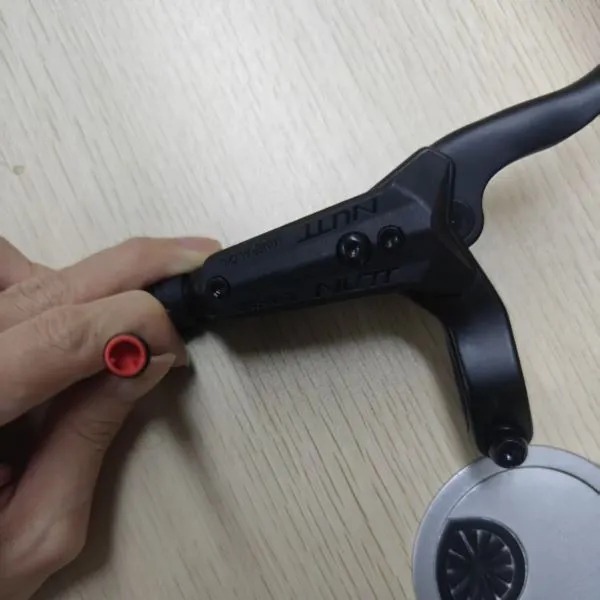
  • Black forged aluminum lever

Product Specifications

Confirm the final configuration and SKU before purchasing.

Applicable Model All KuKirin Electric Scooter Models
Brake Type 2-Piston Hydraulic Disc Brake Upgrade Kit (Front & Rear)
Brake Pad Options Ceramic brake pads & Copper-based brake pads
Matching Rotor 140/160 × 1.8mm Brake Rotor, Uniform Clamping Force
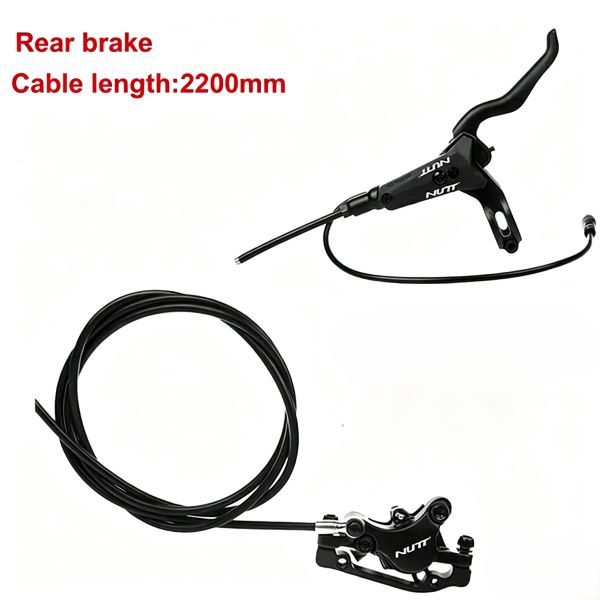
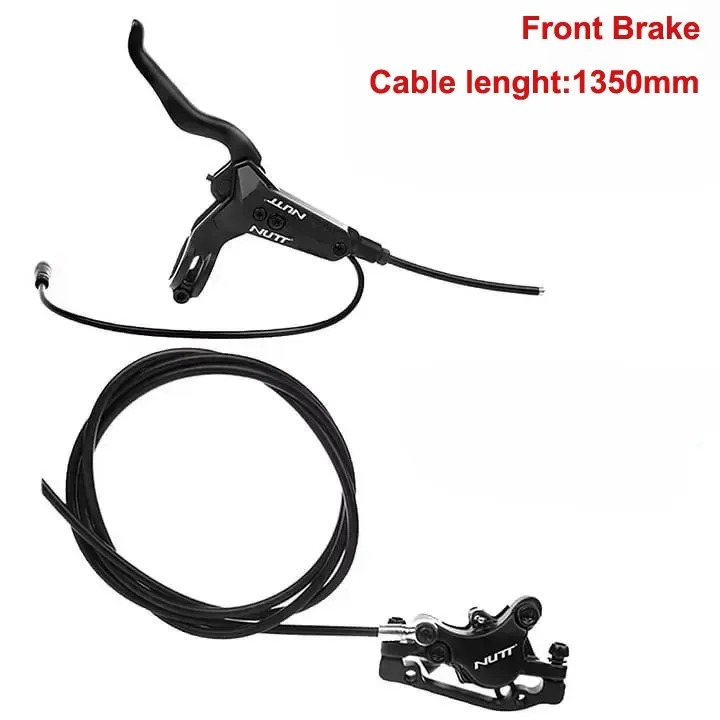
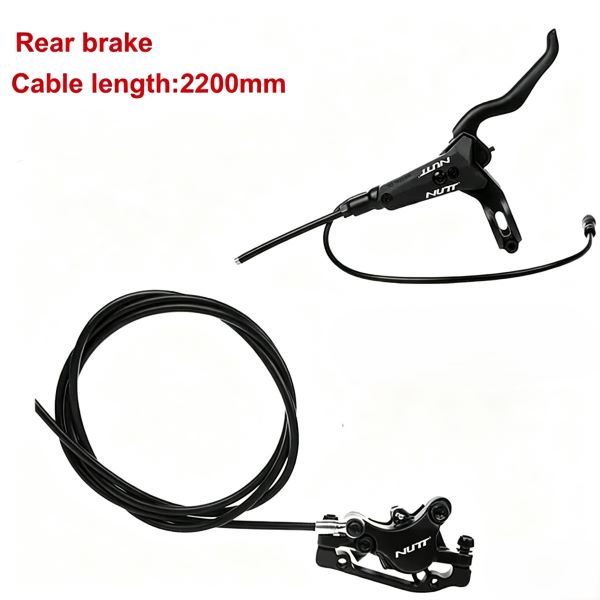
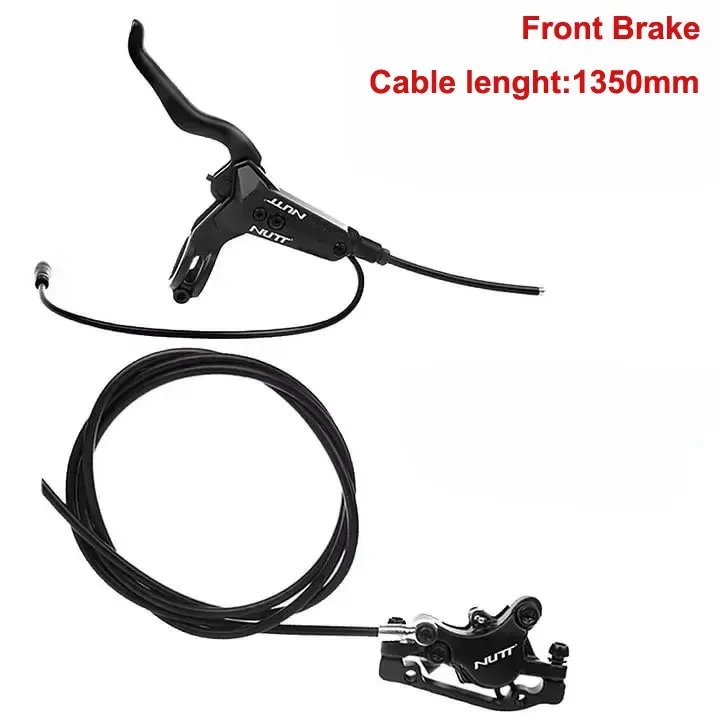
Hose Spec Front: 1350mm | Rear: 2200mm (L1 Straight Leakproof Joint)
Pre-Filled System Pre-bled brake lever for hassle-free installation
Safety Function Integrated instant motor power-off sensor
Material Feature Wear-resistant & rust-proof aluminum alloy
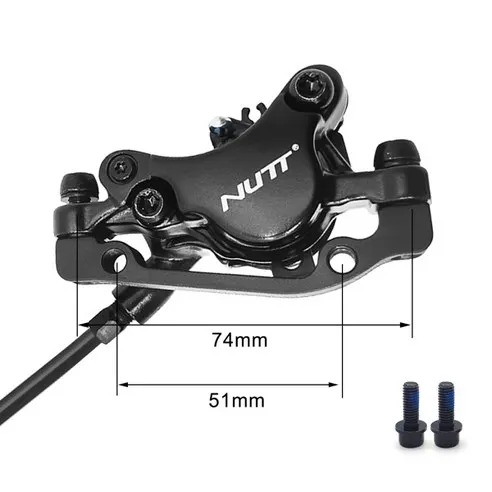
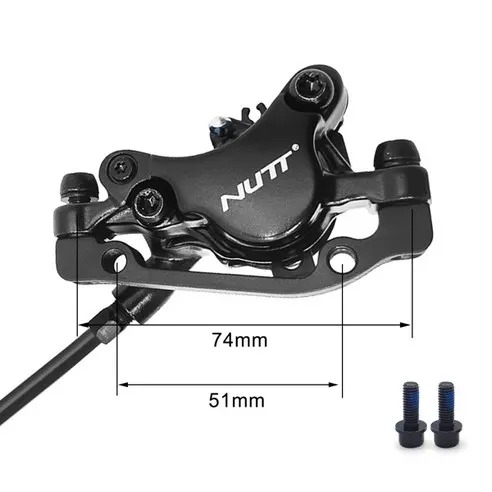
Mount Type IS standard mount & Post mount options

What's Included

Package contents vary by selected position.

Position 01

Front Brake

  • Front dual-piston hydraulic caliper
  • Matching hydraulic brake lever
  • Front hydraulic hose (1350mm)
  • Pre-installed brake pads
  • Mounting hardware

Spacer is included only when selected.

Position 02

Rear Brake

  • Rear dual-piston hydraulic caliper
  • Matching hydraulic brake lever
  • Rear hydraulic hose (2200mm)
  • Pre-installed brake pads
  • Mounting hardware

Confirm swingarm clearance before ordering.

Fitment reminder: Adapter cables, rotor spacers, and washers may vary by KuKirin model and production year. Contact us if unsure.

Choose the Right Braking System

Compare the key differences between standard mechanical brakes and the NUTT 2-piston hydraulic brake system.

Ordinary Brake

Standard cable-driven system

  • Braking Performance: Slow response, unstable stop
  • Sensor Feature: No power-off sensor, circuit risk
  • Sealing Structure: Poor sealing, easy oil leakage
  • Installation: Requires modification & adaptors
  • Piston Structure: Plastic 2-piston, easy deformation
  • Tube Length: Fixed tube length only
  • Warranty: 6 Months short warranty
NUTT Premium

NUTT Hydraulic Brake

Advanced 2-piston hydraulic system

  • Braking Performance: Sensitive & stable braking
  • Sensor Feature: Built-in power-off sensor protects motor
  • Sealing Structure: Leak-proof sealing, low maintenance
  • Installation: Direct bolt-on replacement
  • Piston Structure: 2-Piston CNC Aluminum Body
  • Tube Length: Custom 1350/2200mm lengths
  • Warranty: 1 Year warranty

Installation & safety

Installation Steps & Safety Instructions

Follow the fitment checks below before installing or riding with a NUTT hydraulic brake upgrade.

01

Confirm the correct configuration

Check the scooter model, production version, front or rear position, rotor side, mounting type and brake connector. Confirm whether a spacer, adapter cable or original washer is required.

02

Inspect the package before fitting

Make sure the caliper, lever, hose, brake pads and selected hardware match the purchased configuration. Do not install damaged parts or discard model-specific hardware before fitment is confirmed.

03

Remove the original brake safely

Secure the scooter before removing the original brake. Protect the rotor and hose area from contamination, and keep any original washers or model-specific parts for comparison.

04

Install the lever and caliper

Mount the lever and caliper using the correct hardware for the selected configuration. Keep the caliper aligned with the rotor and do not force parts into position.

05

Route the hose and check clearance

Route the hose away from sharp edges, moving parts and folding points. Check the gap around the caliper, rotor, fork, swingarm, tyre and other components before final tightening.

06

Test before normal riding

Check lever operation, rotor rubbing, bolt security and motor power cutoff. Complete a controlled low-speed test in a safe area before normal riding.

G2 Pro

Front-caliper choice may vary by production year. Some configurations require a 5 mm front brake-disc spacer. Confirm the model year and clearance first.

G2 Max

Check the caliper clearance before tightening. The applicable fitment information requires a gap greater than 2 mm for the relevant configuration.

G4

Keep the original factory metal washers and confirm the rotor side, caliper direction, connector and hose routing before riding.

Frequently Asked Questions

Find answers about NUTT hydraulic brake compatibility, installation checks and KuKirin model-specific fitment.

How do I confirm whether this brake kit fits my KuKirin scooter?

Confirm the scooter model, production version, brake position, rotor side, mounting interface and brake-connector configuration before ordering. If you are unsure, send clear photos of the front wheel, rear wheel and brake-lever connector to nuttbraking@outlook.com.

Is the kit available for the front brake, rear brake or both?

The available configuration may be Front brake, Rear brake or Front & Rear Set. Select the position that matches your scooter and check the package contents for the selected variant before ordering.

What should G2 Pro owners check before ordering?

For the KuKirin G2 Pro, the correct front-caliper choice may differ between production years. Some configurations also require a 5 mm front brake-disc spacer. Confirm the model year, rotor position and available clearance before installation.

What is the main clearance warning for the G2 Max?

For the KuKirin G2 Max, check the clearance between the caliper, rotor, fork, swingarm and other moving parts before tightening the bolts. The supplied fitment information requires maintaining a gap greater than 2 mm for the applicable configuration. Do not assume that every G2 Max version uses the same setup.

What should I remember when installing the brake on a G4?

For the KuKirin G4, keep the original factory metal washers until installation and fitment checks are complete. Also confirm the rotor side, caliper direction, brake connector and hose routing before riding.

What hose lengths are available?

The listed hose options are 1350 mm for the front and 2200 mm for the rear for the applicable configurations. Confirm the required length according to your scooter, brake position and routing path.

Does the hydraulic brake include a motor power-off sensor?

The listed NUTT configuration includes an integrated motor power-off sensor. Connector types and adapter-cable requirements may vary by scooter model and production version, so match the connector before ordering and test the cutoff function after installation.

Is the hydraulic brake pre-bled?

The listed configuration uses a pre-bled brake lever system for easier installation. You must still check rotor alignment, caliper clearance, hose routing, connector compatibility and lever operation before riding.

What should I check after installation?

Check that the caliper is aligned with the rotor, the rotor does not rub, all bolts are correctly tightened, the hose is not pinched, and the brake lever operates normally. Test the motor power cutoff and complete a low-speed test in a safe area before normal riding.

Still unsure about fitment? Send your front-wheel photo, rear-wheel photo and brake-lever connector photo to nuttbraking@outlook.com before ordering.

Recently viewed