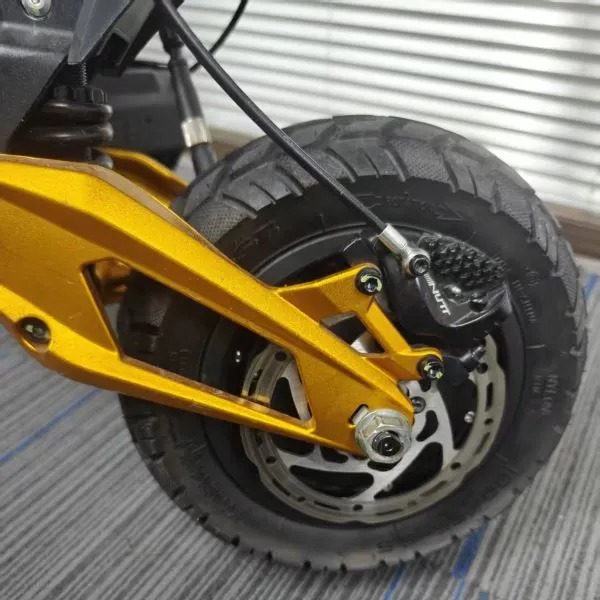
1. Front wheel
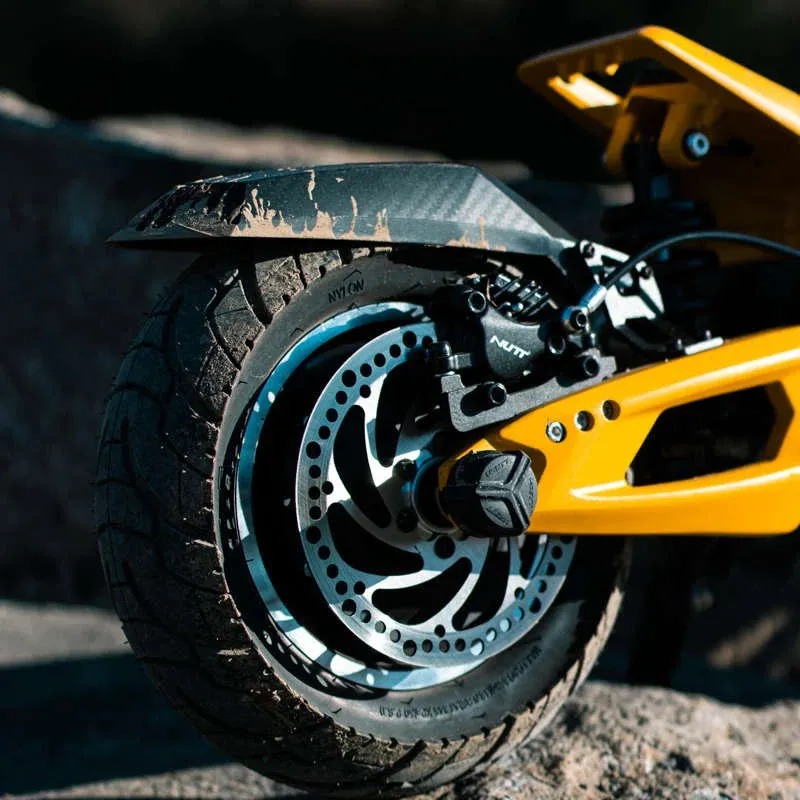
Show disc side, fork structure and caliper mount.






Free Shipping (7-14 Business Days Delivery)
All Prices Include VAT – No Extra fees
CE,DGT Certified – Compliant With EU Regulations
1-Year Warranty Included
Not sure which version fits? Send us these three photos and our mechanics will confirm the correct setup.
Show disc side, fork structure and caliper mount.

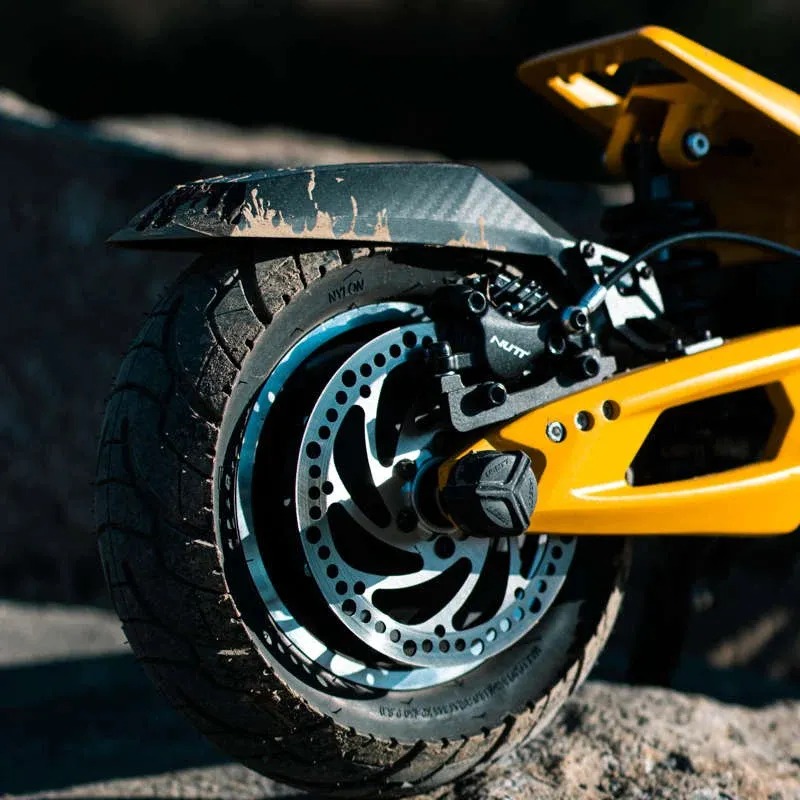
Show rear disc side, swingarm area and caliper direction.
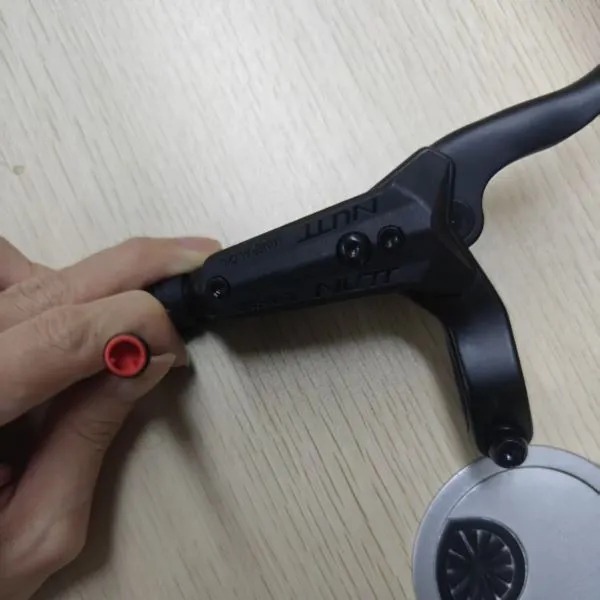
Show the power-off sensor connector shape and pins.
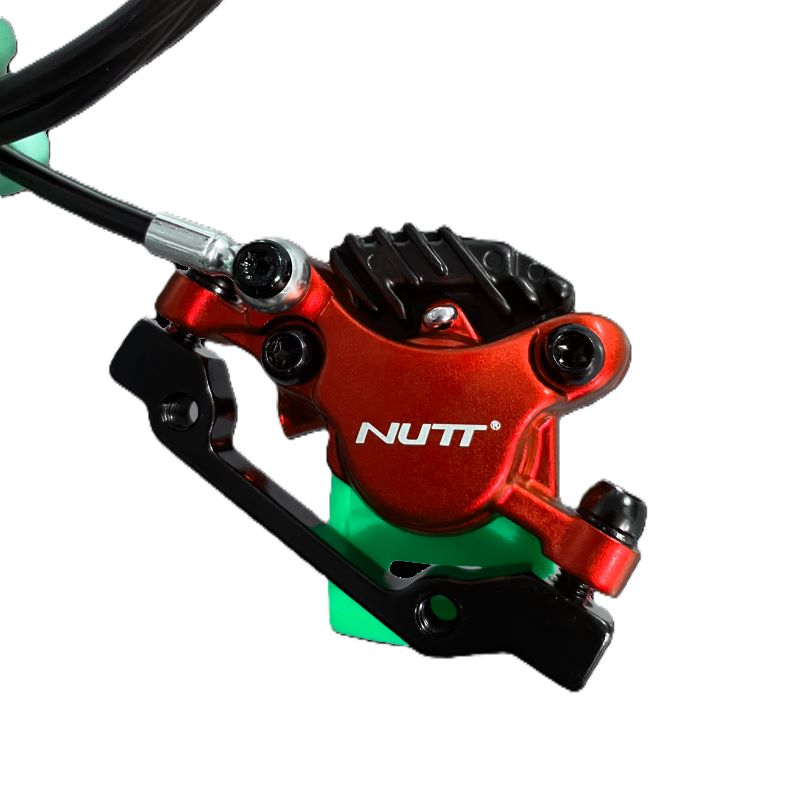
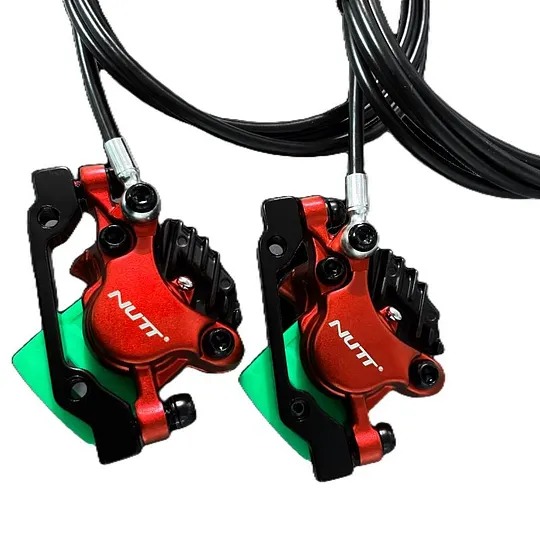
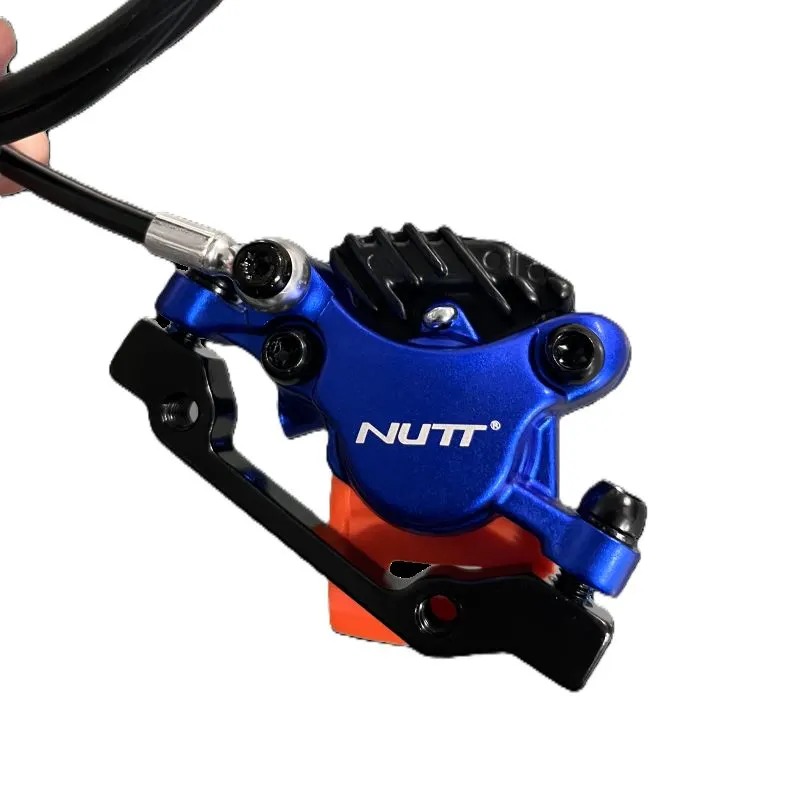
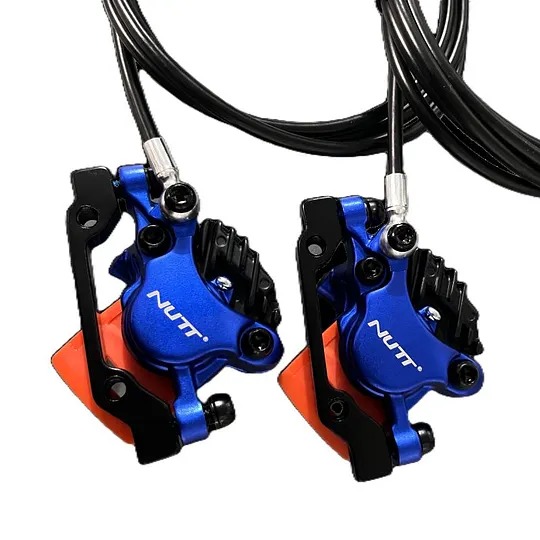
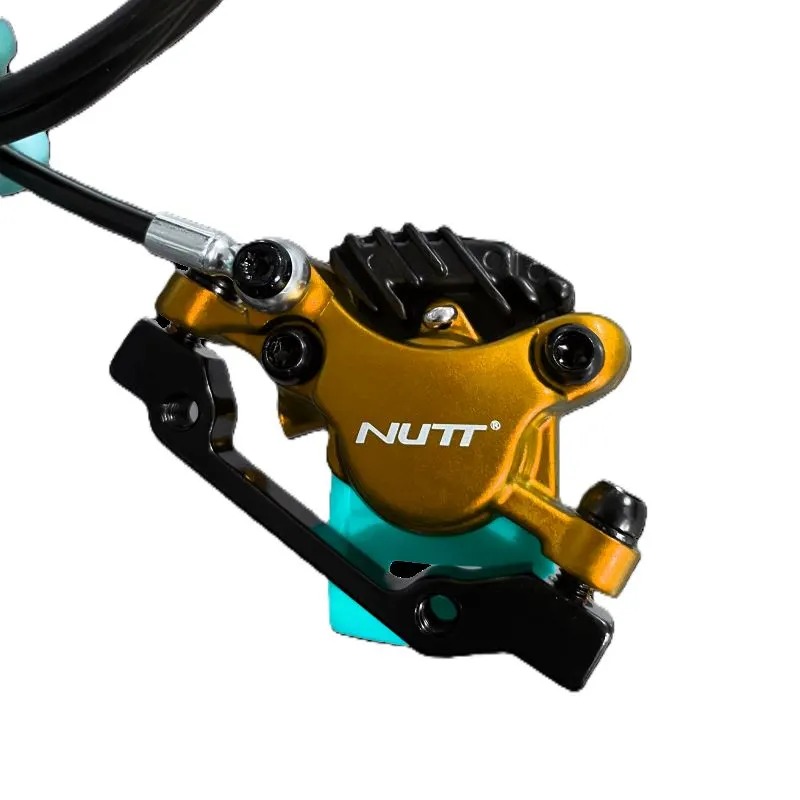
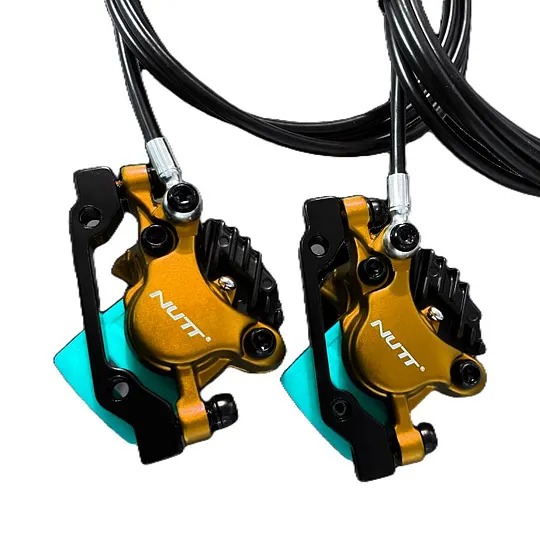
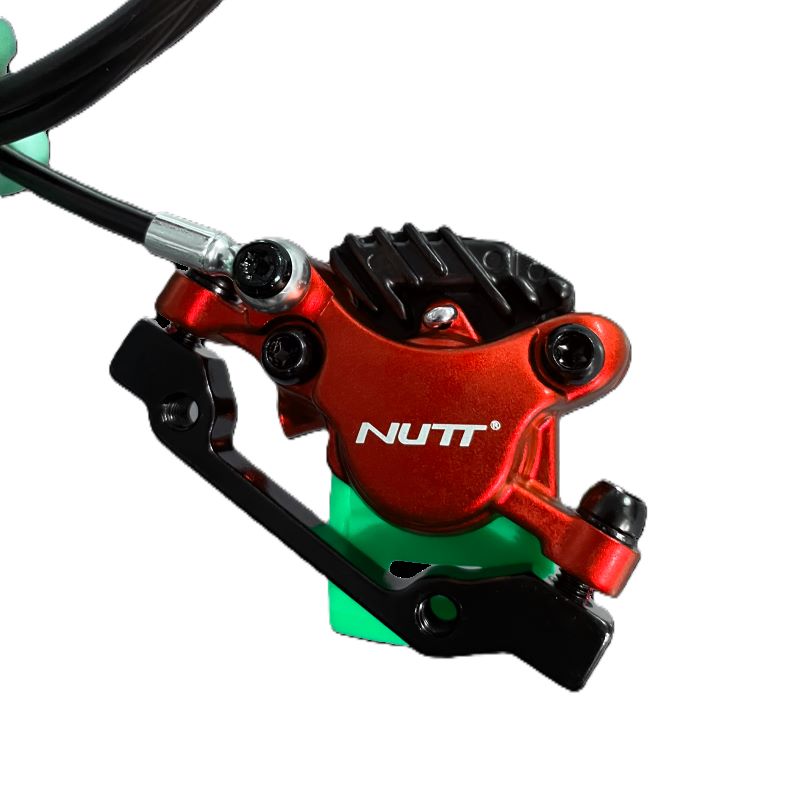
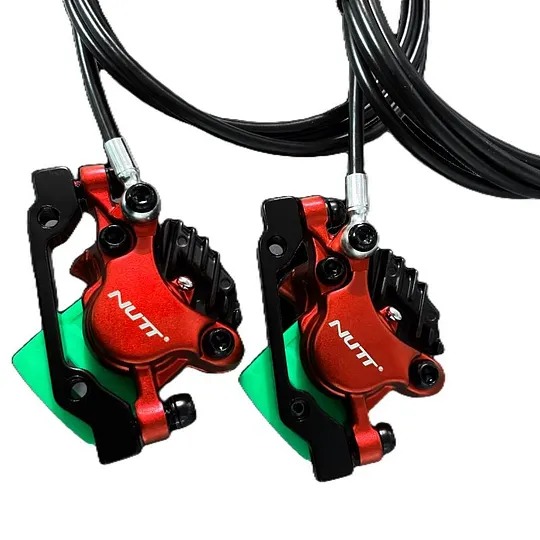
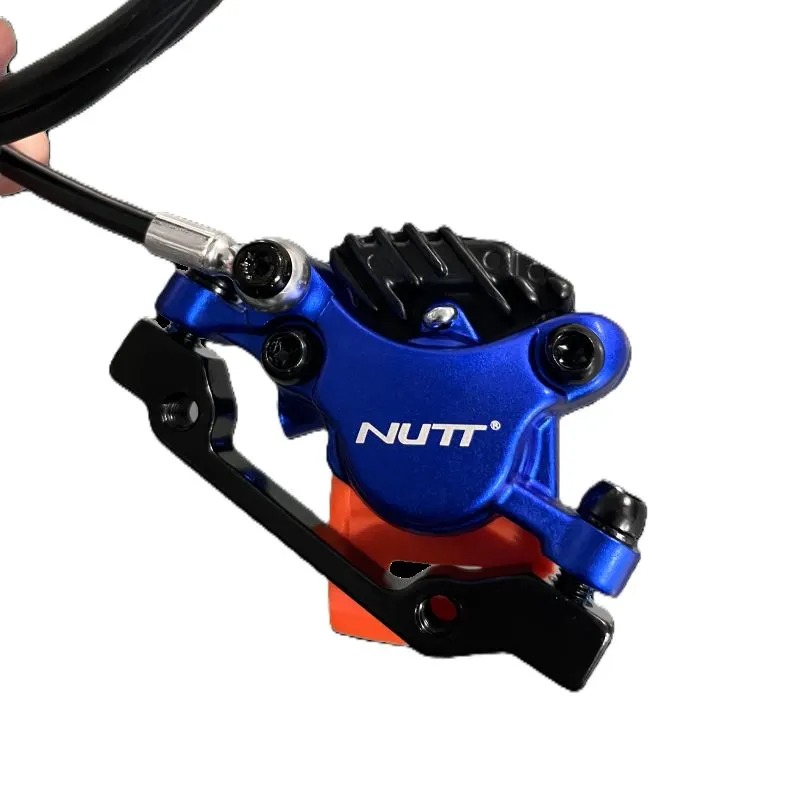
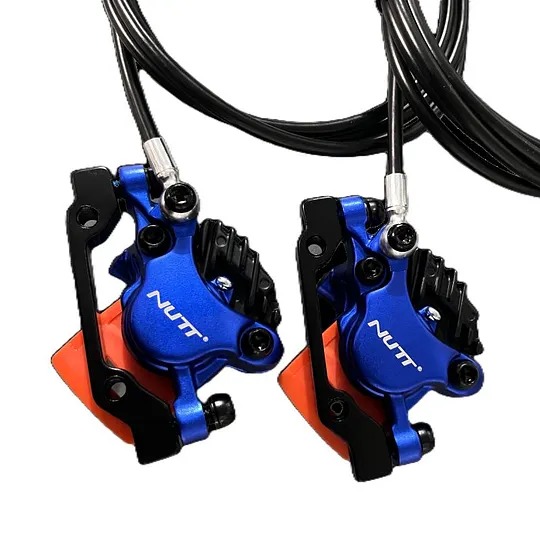
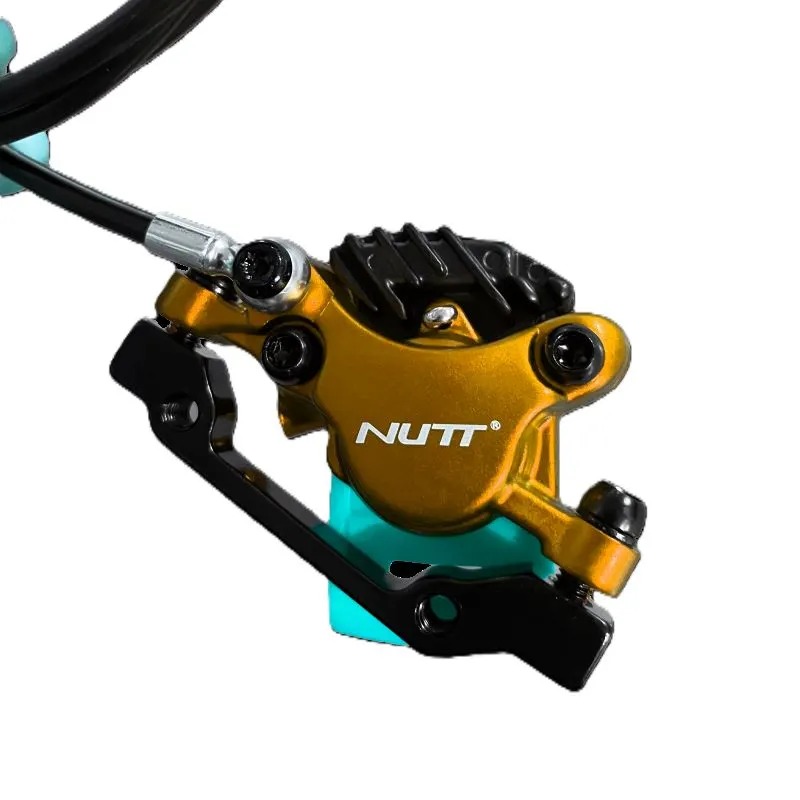
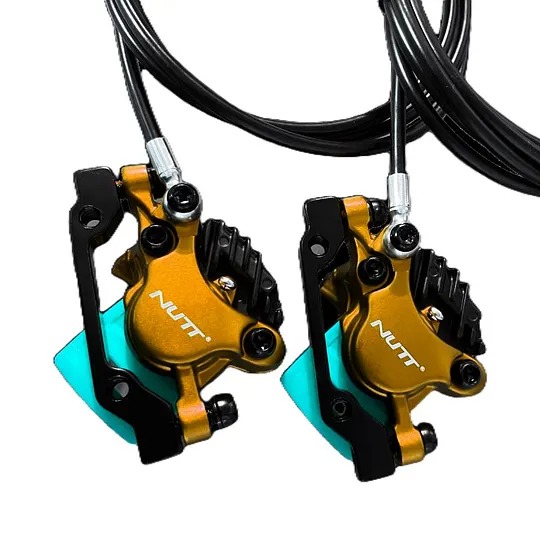
NUTT system uses an open hydraulic design with dual-piston calipers, forged aluminum construction, and mineral brake fluid.
Confirm the final configuration and SKU before purchasing.
| Applicable Model | ALL Electric scooters and e-bikes Models |
|---|---|
| Brake Type | 2-Piston Hydraulic Disc Brake |
| Target Use | Daily Commuter Electric Scooters |
| Braking Feel | Sensitive & Stable Linear Braking |
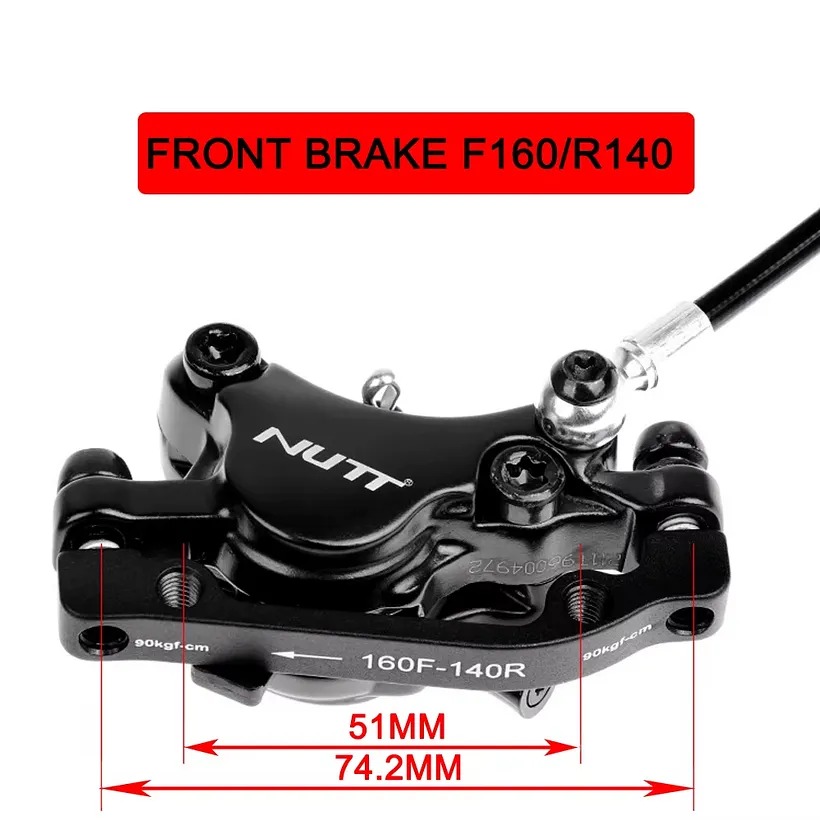
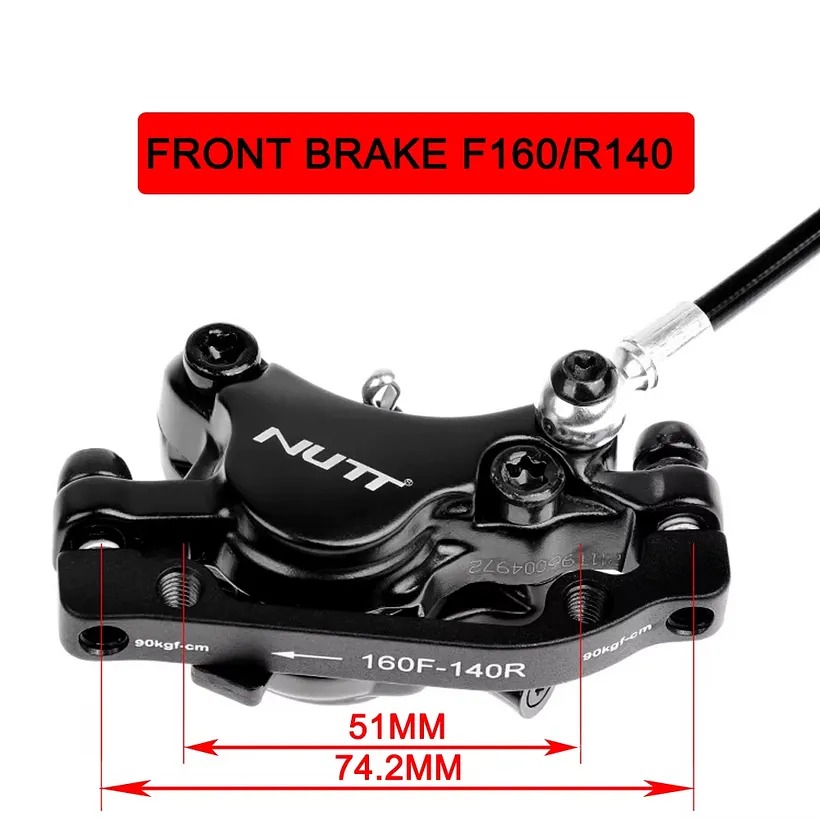
| Fits brake disc size | 140mm,160mm |
| Safety Feature | Built-in power-off sensor for motor & circuit protection |
| Hydraulic Design | Full leak-proof sealed hydraulic structure,low maintenance |
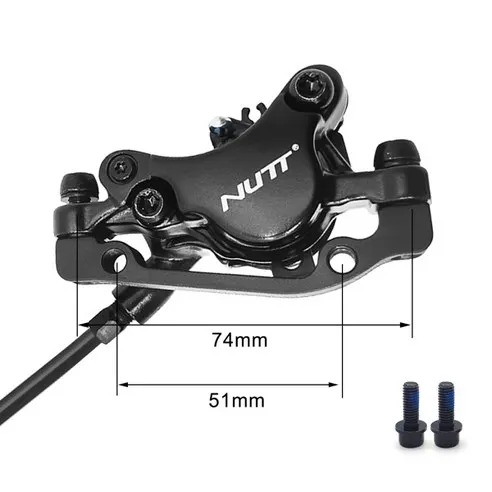
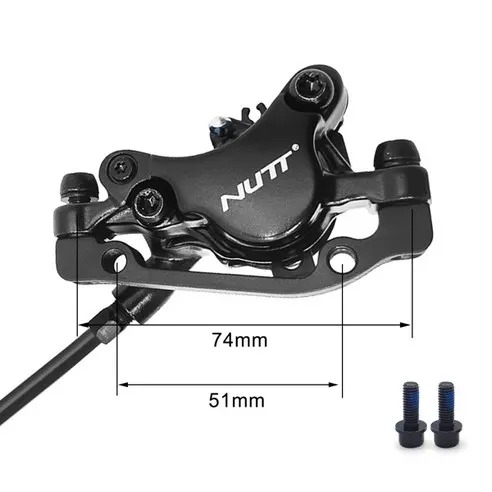
| Installation | Direct bolt-on replacement, no extra modifications |
| Compatible Scooter Brands | Dualtron, Zero, Booster ES3, Speedway Kukirin,Joyor,Ausom,HILey |
Package contents vary by selected position.
Position 01
Spacer is included only when selected.
Position 02
Confirm swingarm clearance before ordering.
Recommended
Best value for full braking system upgrade.
Compare the key differences between standard mechanical brakes and the NUTT 2-piston hydraulic brake system.
Standard cable-driven system
Advanced 2-piston hydraulic system
Installation & safety
Follow the fitment checks below before installing or riding with a NUTT hydraulic brake upgrade.
Check the scooter model, production version, front or rear position, rotor side, mounting type and brake connector. Confirm whether a spacer, adapter cable or original washer is required.
Make sure the caliper, lever, hose, brake pads and selected hardware match the purchased configuration. Do not install damaged parts or discard model-specific hardware before fitment is confirmed.
Secure the scooter before removing the original brake. Protect the rotor and hose area from contamination, and keep any original washers or model-specific parts for comparison.
Mount the lever and caliper using the correct hardware for the selected configuration. Keep the caliper aligned with the rotor and do not force parts into position.
Route the hose away from sharp edges, moving parts and folding points. Check the gap around the caliper, rotor, fork, swingarm, tyre and other components before final tightening.
Check lever operation, rotor rubbing, bolt security and motor power cutoff. Complete a controlled low-speed test in a safe area before normal riding.
Find answers about NUTT 2-piston hydraulic brake compatibility, power-cutoff safety and installation fitment.
Before ordering, confirm your vehicle model and production version, front or rear position, rotor side, fork or swingarm mounting structure, rotor size, hose route and brake-lever connector.
The target product is designed for mainstream electric scooters and e-bikes, but mounting and wiring can vary between models and production years. If you are unsure, send clear fitment photos before ordering.
Check the side of the front rotor and the style of your front fork before selecting the variant. For a vertical-style front fork, the required caliper may be on the opposite side of the rotor so the caliper can align correctly with the mounting structure.
For example, a right-side front rotor may require a Front-Left caliper in the applicable fork configuration. Do not select by left or right alone—compare the mounting area and final SKU option.
The available options may include front-only, rear-only and front-and-rear sets, with different caliper sides and left- or right-lever configurations.
Select the option that matches your existing brake layout. A complete set should include the matching front and rear calipers, levers, hoses and required hardware for the selected configuration.
The product page lists compatibility with 140 mm and 160 mm rotors. The applicable 2-piston configuration is specified for a 1.8 mm-thick brake disc.
Confirm the rotor diameter, thickness, bolt pattern, offset and braking surface before installation. Do not force a rotor or use a thickness outside the final SKU requirements.
Yes. The applicable configuration includes a built-in brake-lever power-cutoff sensor that interrupts motor output when the brake lever is pulled.
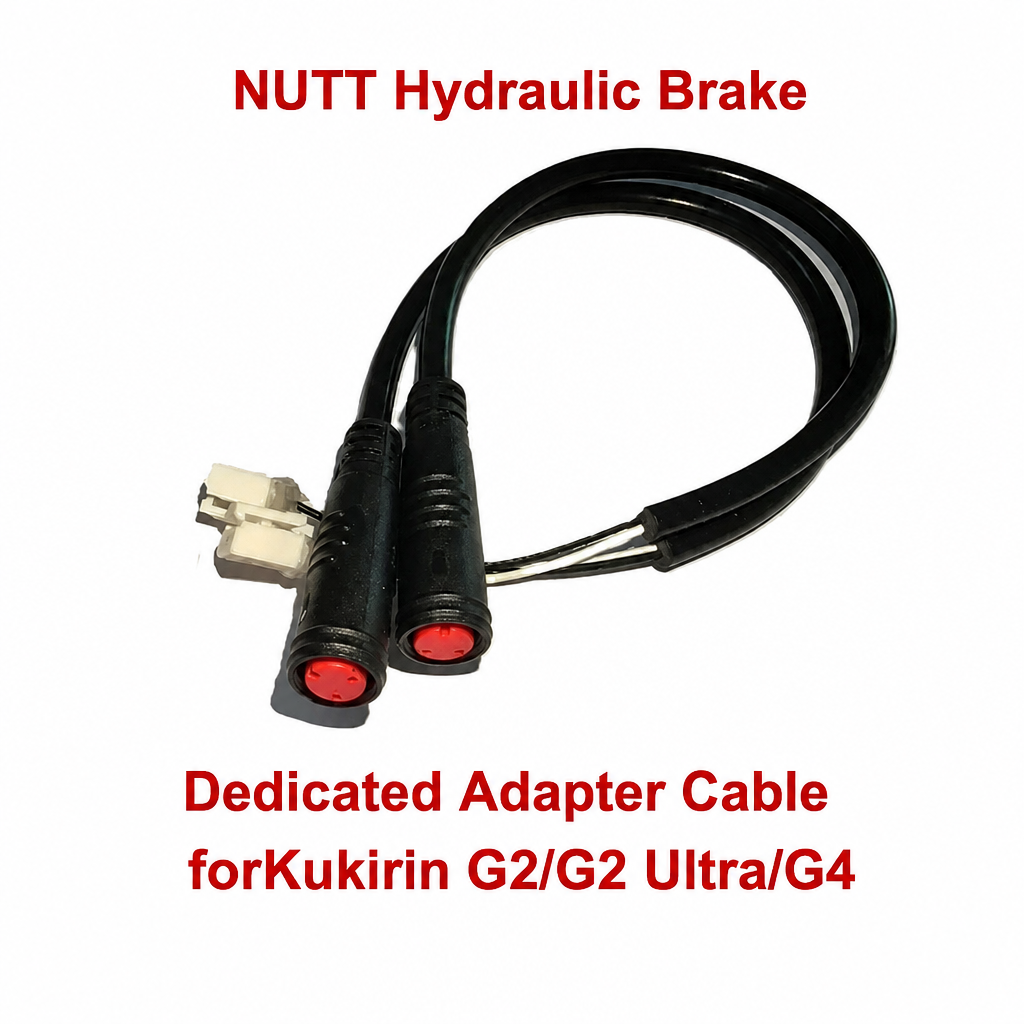
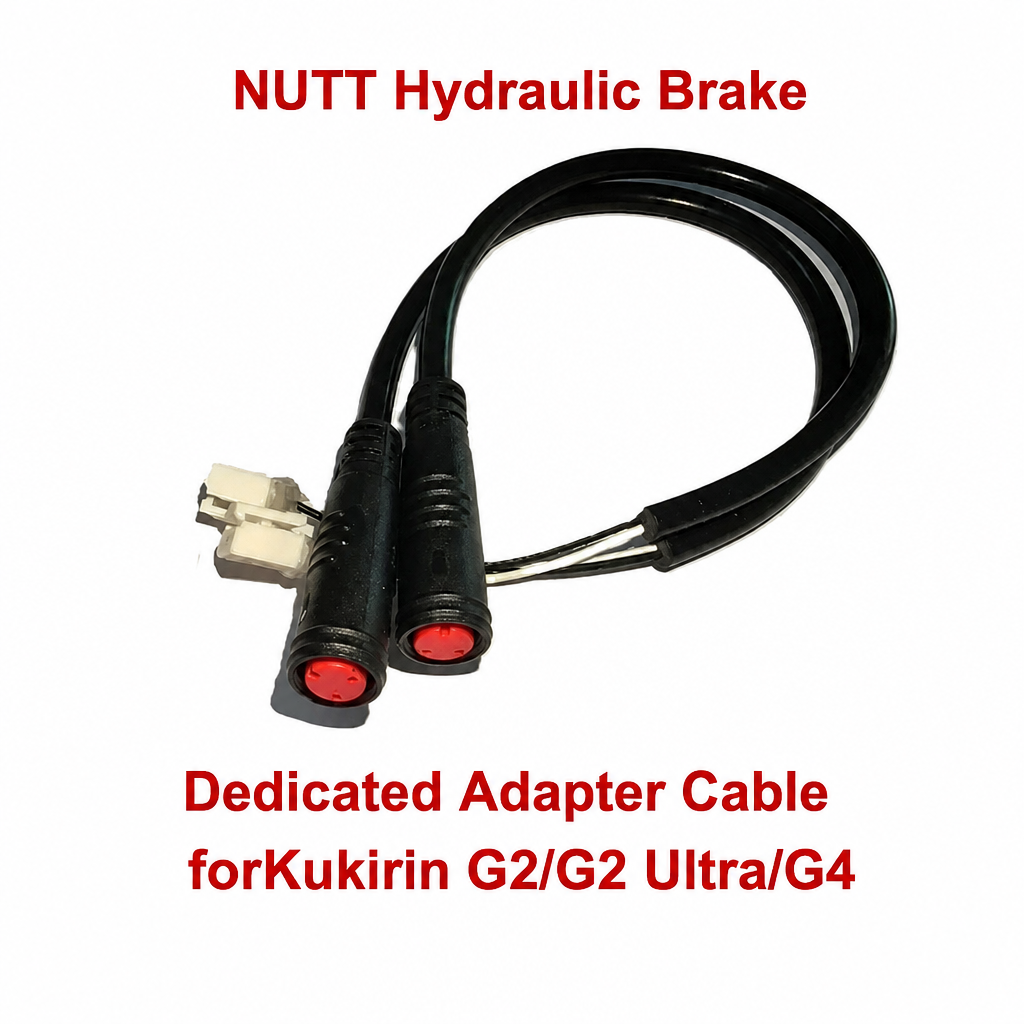
Connector shape, pin configuration and wiring can differ by scooter or e-bike. A dedicated adapter cable may be required for some KuKirin G2, G2 Ultra and G4 configurations. Match the connector before ordering and never force an incompatible plug.
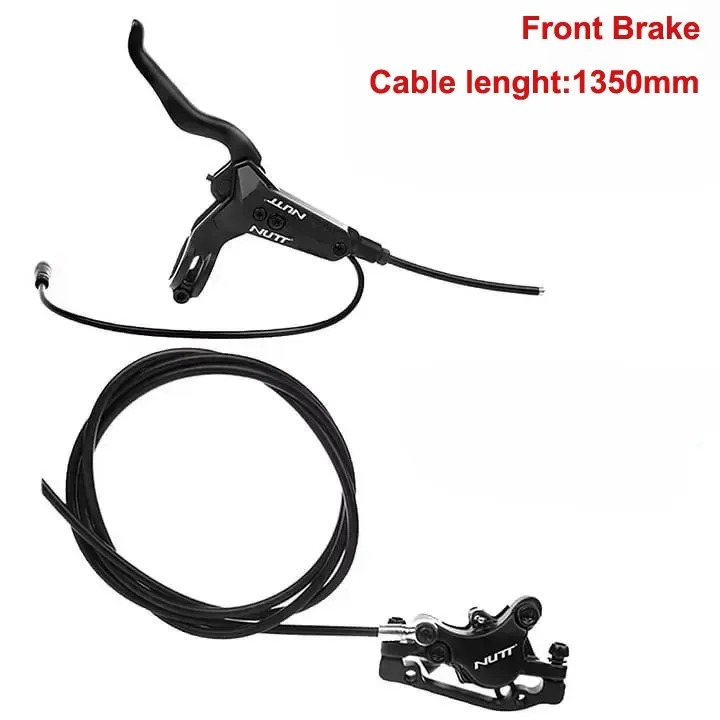
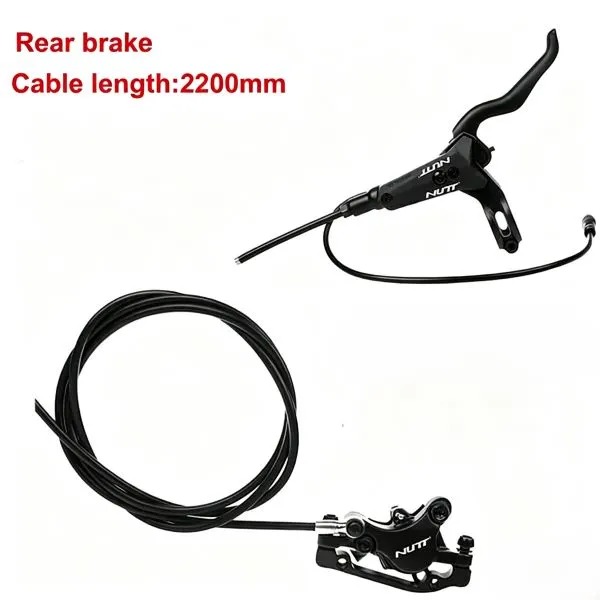
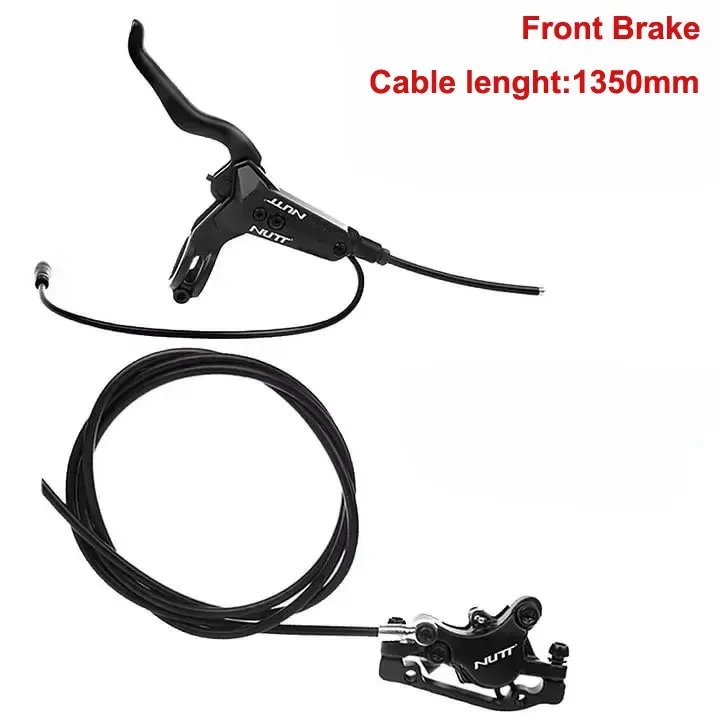
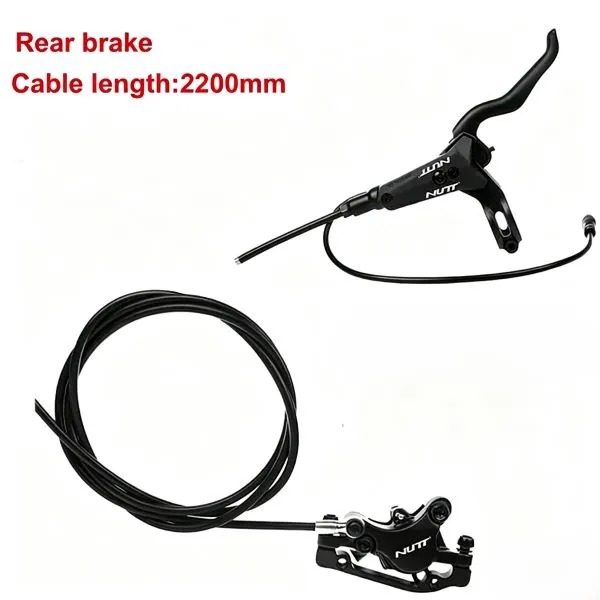
The listed standard hose lengths are 1,350 mm for the front and 2,200 mm for the rear. Custom lengths may be available for selected configurations.
Measure the complete routing path with the handlebar turned left and right. The hose must not be stretched, sharply bent, pinched by a folding mechanism or exposed to moving parts.
The listed product is supplied as a pre-bled hydraulic brake system for easier bolt-on installation. If the hose is opened, shortened or disconnected during internal routing, the system may need to be bled again.
The applicable configuration uses mineral oil. Use mineral oil only and never mix it with DOT brake fluid, which can damage seals and cause leakage.
For the applicable OOTD T10 fitment, a 1 mm spacer between the motor and brake rotor may be required to provide correct rotor and caliper clearance.
Spacer requirements can vary with the vehicle version, rotor and selected caliper orientation. Confirm the final clearance before tightening the hardware and riding.
Package contents vary by the selected position and set option. The applicable package may include:
Adapters, spacers, washers and dedicated connector cables may be model-specific or sold separately. Check the final variant and package list before ordering.
Confirm that the caliper is centered over the rotor, the rotor does not rub, the hose is safely routed, the lever feels firm and all mounting bolts are correctly tightened.
Test the motor power cutoff with the wheel lifted, then complete a controlled low-speed test in a safe area. Stop using the vehicle immediately if the system leaks, the lever feels spongy or the cutoff function does not work.
Please send clear photos showing:
loading