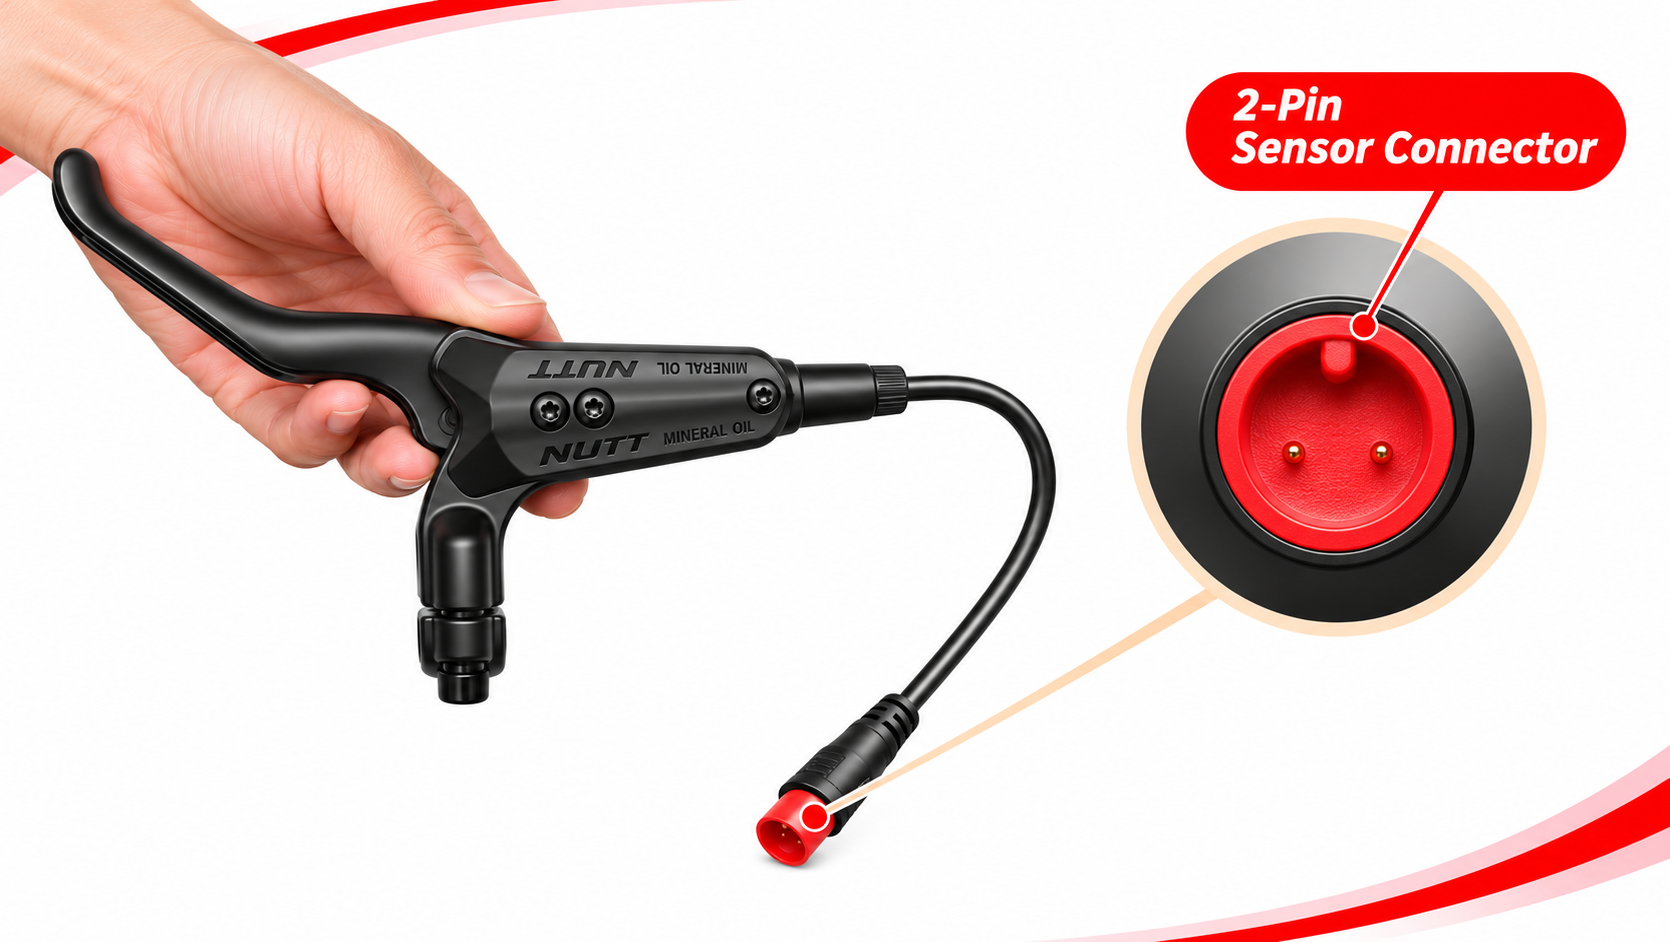
01 / SENSOR CONNECTOR
Check Your 2-Pin Connector
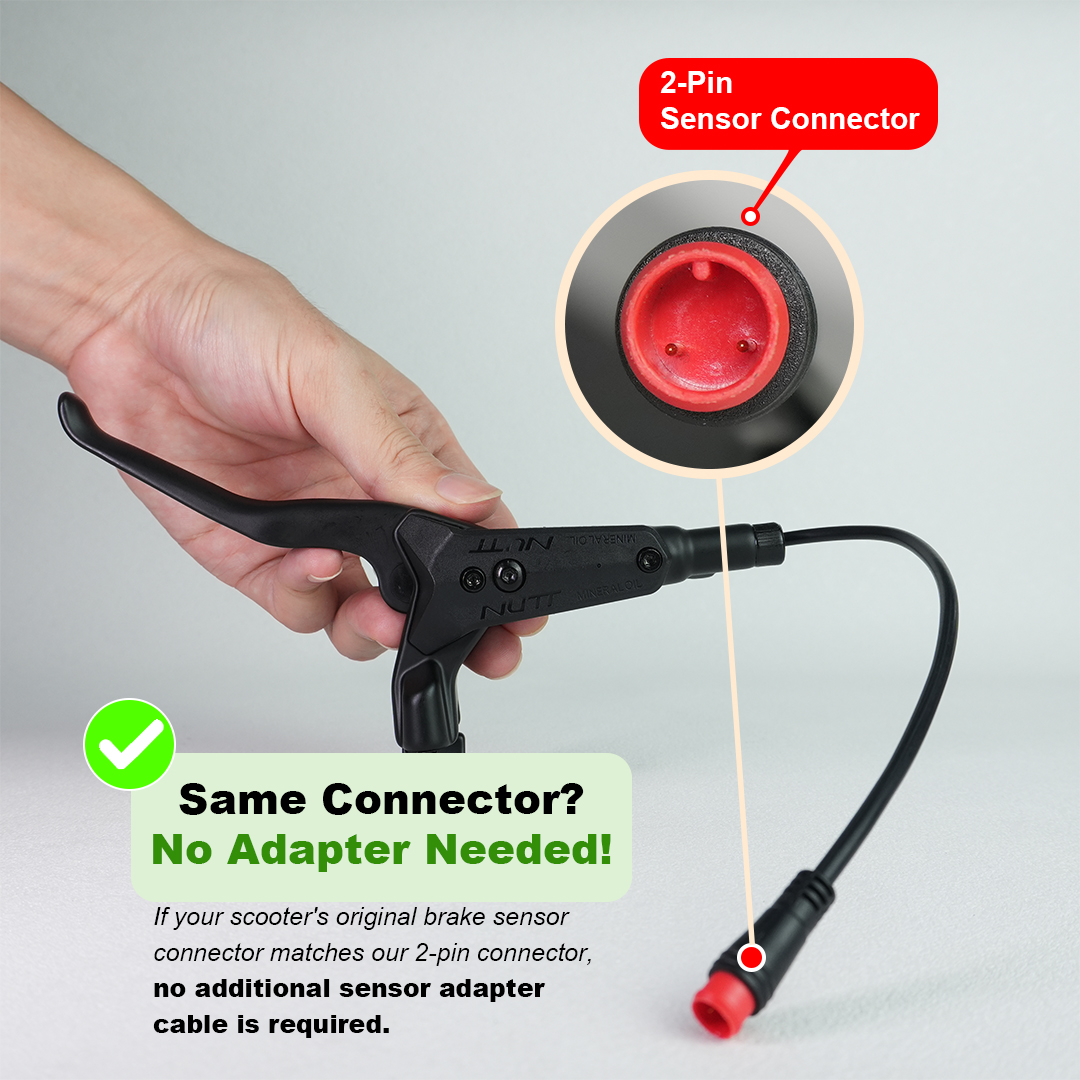
If your scooter's original brake sensor connector matches our 2-pin plug and wiring, no extra sensor adapter cable is needed.




Free Shipping (7-14 Business Days Delivery)
All Prices Include VAT – No Extra fees
CE,DGT Certified – Compliant With EU Regulations
1-Year Warranty Included
NUTT BRAKING · FITMENT GUIDE
Three simple things to know about your brake upgrade.
01 / SENSOR CONNECTOR
If your scooter's original brake sensor connector matches our 2-pin plug and wiring, no extra sensor adapter cable is needed.

02 / SPACERS INCLUDED
Mounting spacers are included with your brake kit at no extra cost. No need to purchase the included spacers separately.

03 / FITMENT SUPPORT
Place your order, then email your order number and photos of both wheel brakes. We'll help verify your setup before shipping.
Installation & safety
Follow the fitment checks below before installing or riding with a NUTT hydraulic brake upgrade.
Check the scooter model, production version, front or rear position, rotor side, mounting type and brake connector. Confirm whether a spacer, adapter cable or original washer is required.
Make sure the caliper, lever, hose, brake pads and selected hardware match the purchased configuration. Do not install damaged parts or discard model-specific hardware before fitment is confirmed.
Secure the scooter before removing the original brake. Protect the rotor and hose area from contamination, and keep any original washers or model-specific parts for comparison.
Mount the lever and caliper using the correct hardware for the selected configuration. Keep the caliper aligned with the rotor and do not force parts into position.
Route the hose away from sharp edges, moving parts and folding points. Check the gap around the caliper, rotor, fork, swingarm, tyre and other components before final tightening.
Check lever operation, rotor rubbing, bolt security and motor power cutoff. Complete a controlled low-speed test in a safe area before normal riding.
Find answers about NUTT four-piston hydraulic brake performance, power cutoff safety and installation fitment.
A four-piston caliper distributes hydraulic clamping force across a larger pad area than a typical two-piston design. This can provide stronger braking, smoother modulation and more consistent control during high-speed, heavy-load or downhill riding.
Actual braking performance also depends on the rotor, pad condition, wheel installation and correct caliper alignment.
Compatibility depends on more than the vehicle name. Before ordering, confirm the front or rear position, rotor side, mounting-hole spacing, rotor diameter and thickness, caliper offset, hose route and brake-lever connector.
Different production versions of the same scooter or e-bike may use different mounting or wiring configurations. If you are unsure, send fitment photos before ordering.
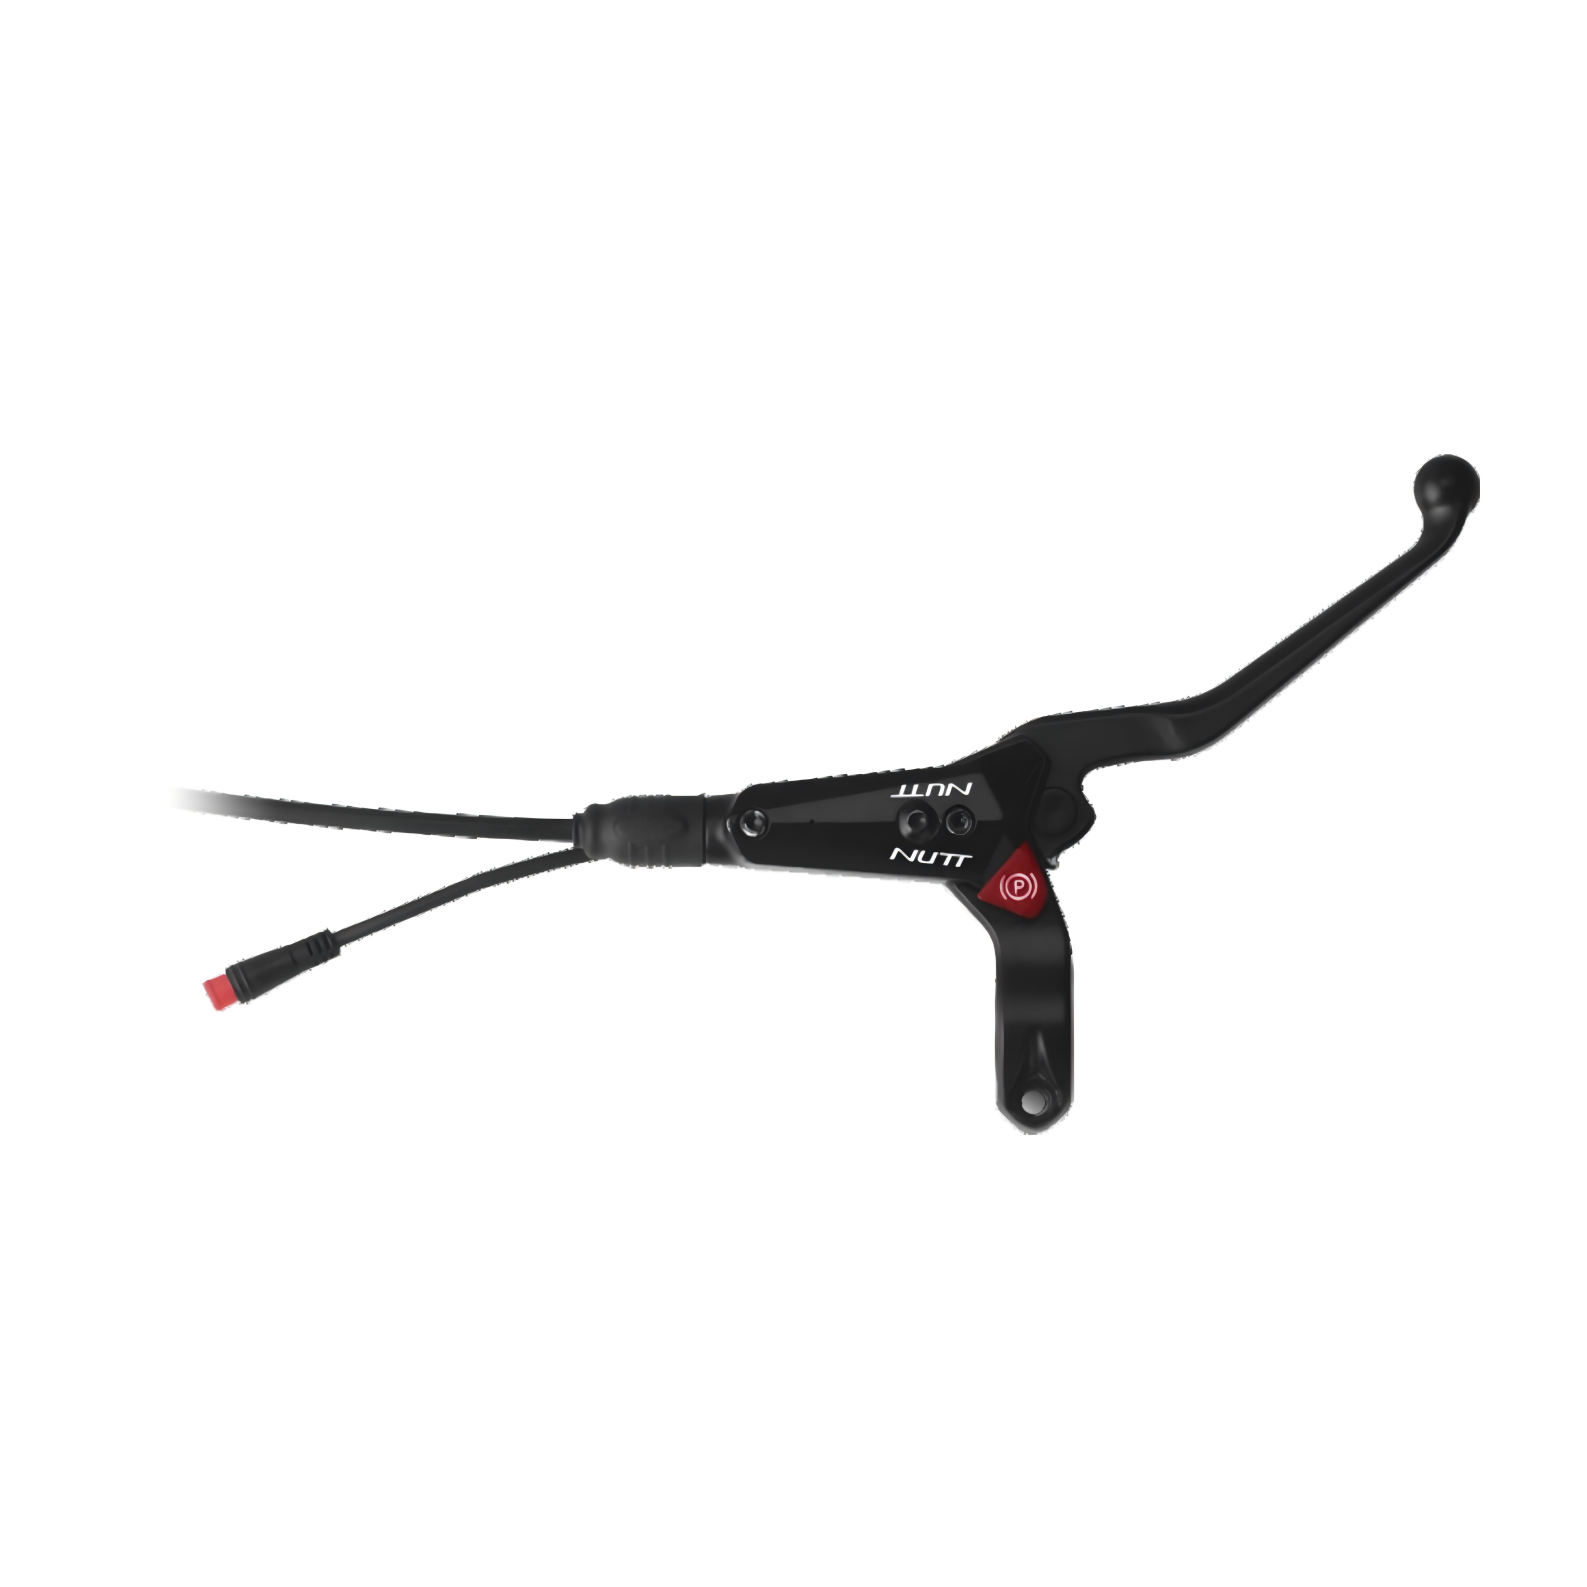
The applicable NUTT power-cutoff configuration includes a built-in brake-lever sensor that interrupts motor output when the lever is pulled.
Connector shape and pin configuration must match your vehicle. Do not force an incompatible plug or modify the wiring without confirming the correct adapter and polarity.
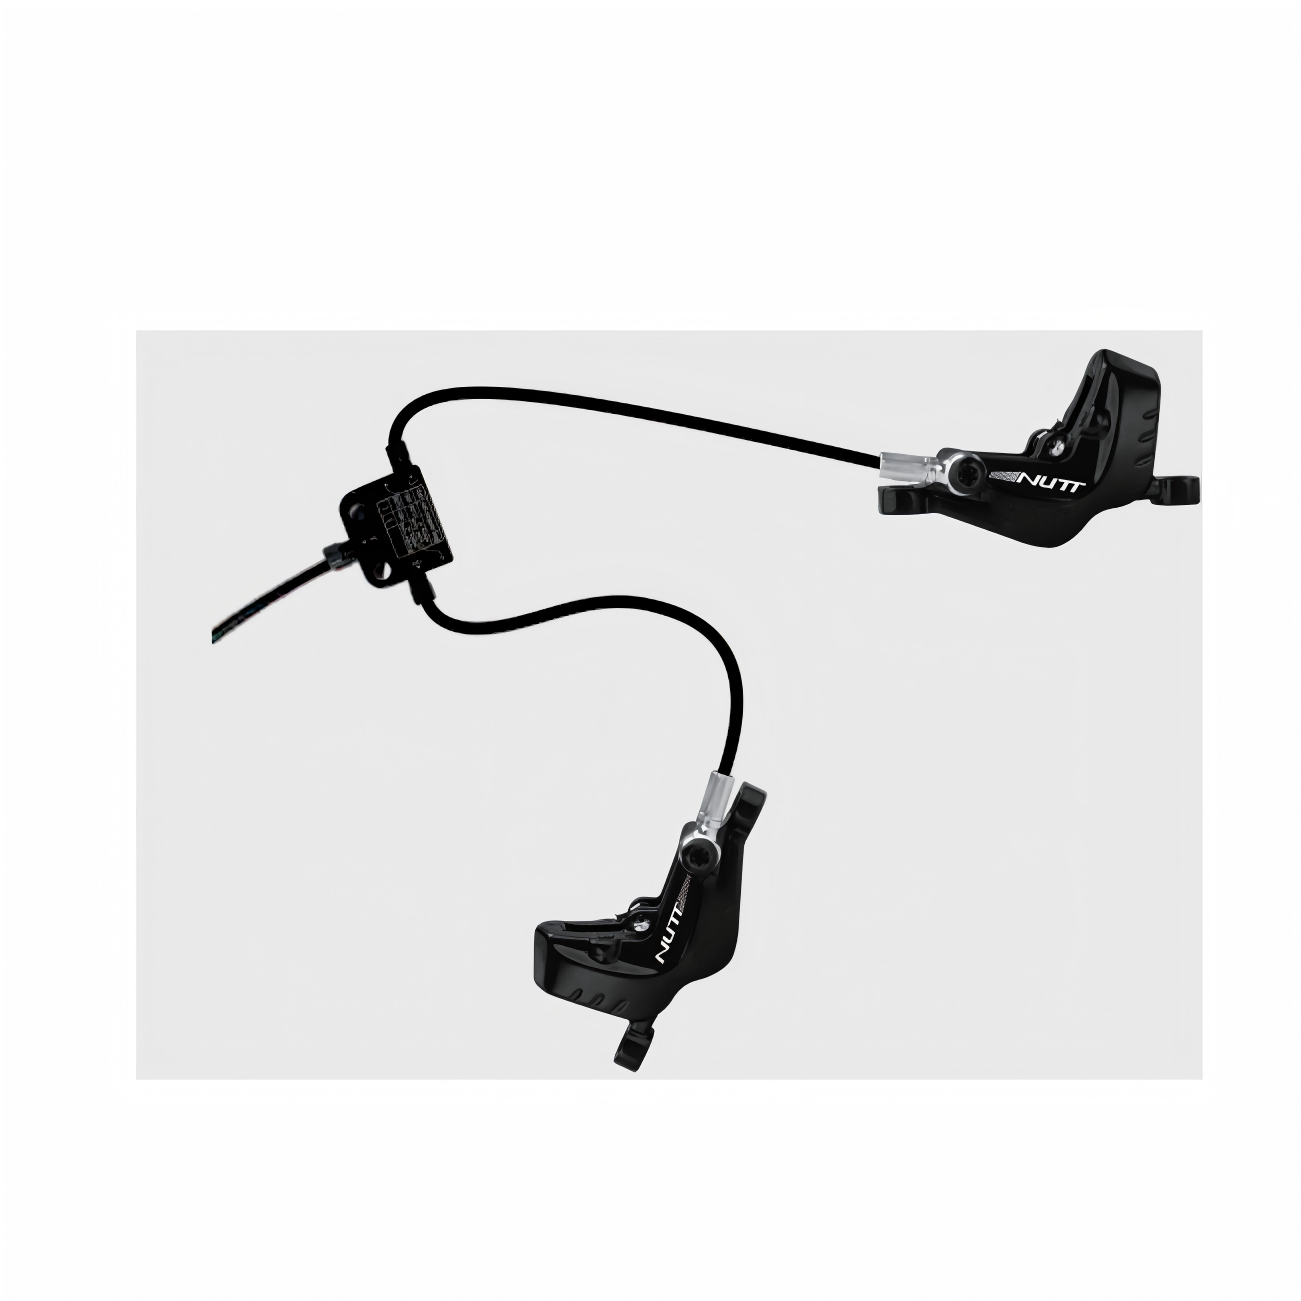
The listed configuration is supplied as a pre-filled hydraulic brake system for direct installation when the hose route remains unchanged.
Before riding, check the lever feel, hose fittings, caliper alignment, rotor rubbing and all mounting bolts. If the hose is opened, shortened or routed internally, bleeding may be required after installation.
Use the fluid specified for the final NUTT SKU. For the mineral-oil configuration, use mineral oil only.
Do not mix mineral oil with DOT brake fluid. Using the wrong fluid can damage seals, cause leakage and affect braking performance. If you are not experienced with hydraulic brake service, use a qualified technician.
Do not assume that the original rotor is compatible. Confirm the rotor's diameter, thickness, bolt pattern, braking surface, offset and condition against the selected four-piston caliper.
The rotor must run centrally through the caliper without rubbing. If the rotor is warped, excessively worn or outside the approved thickness range, replace it before installation.
Package contents vary by the selected option, such as front brake, rear brake or a complete set. The applicable package may include:
Always compare the package list with the final variant selected on the product page before ordering.
Confirm that the caliper is centered over the rotor, the rotor does not rub, the hose is not kinked or pinched, and all bolts are tightened correctly.
Test the brake lever and motor power cutoff while the wheel is lifted. Then complete a low-speed brake test in a safe area before normal riding. Stop using the vehicle immediately if the lever feels spongy, the system leaks or the motor cutoff does not work.
Please send clear photos showing:
loading