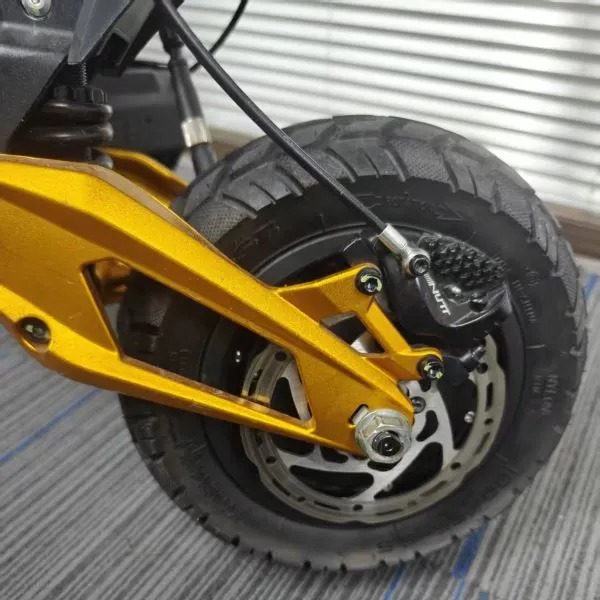
1. Front wheel
Show disc side, fork structure and caliper mount.


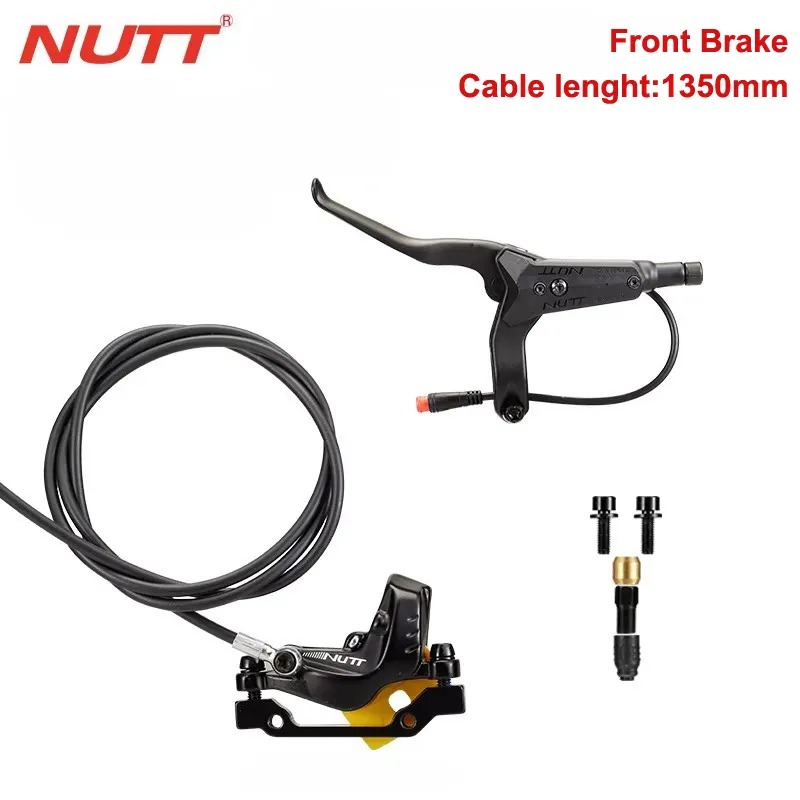
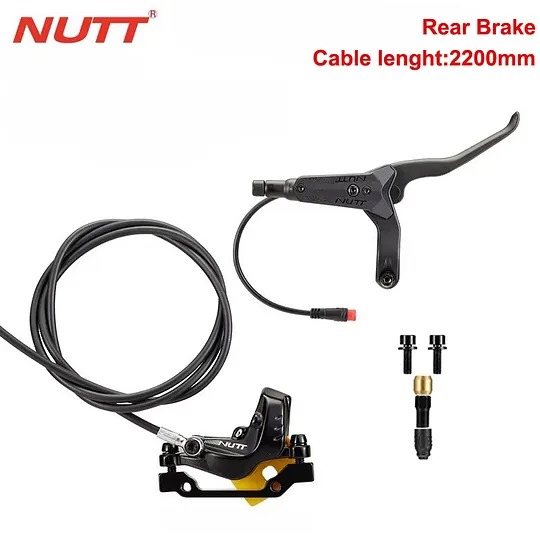
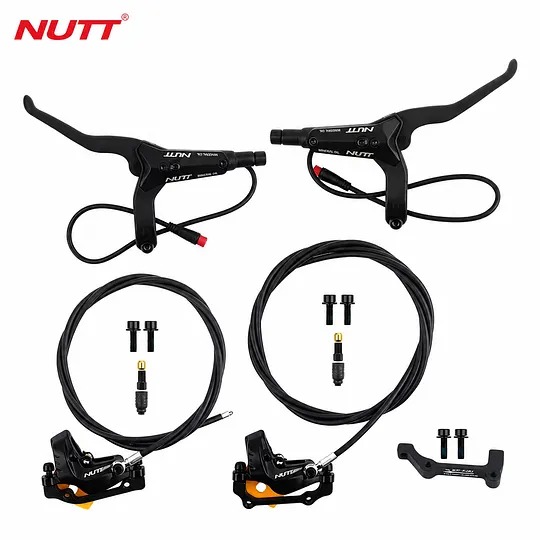
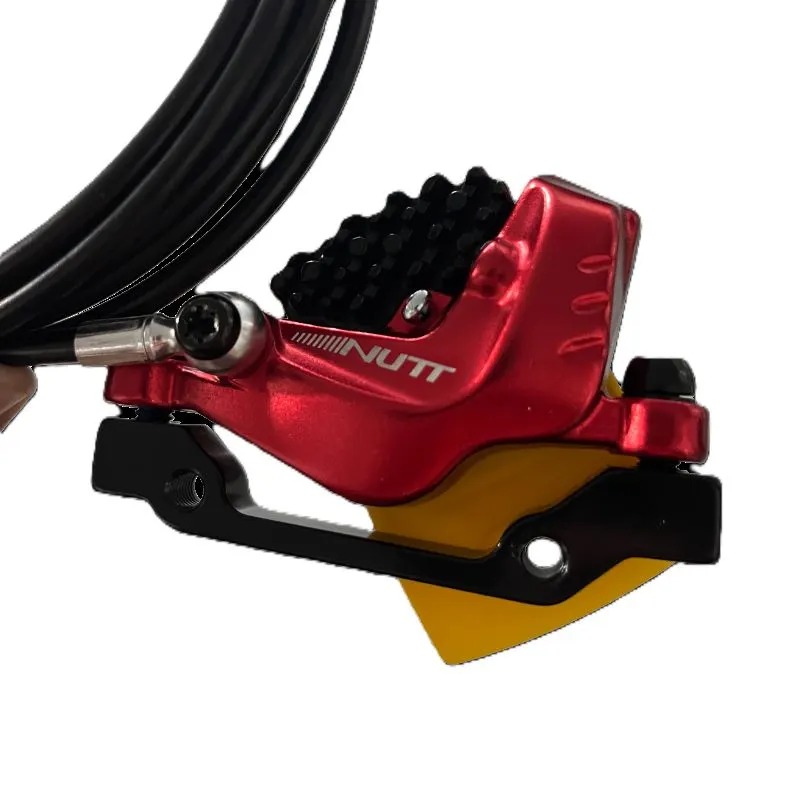
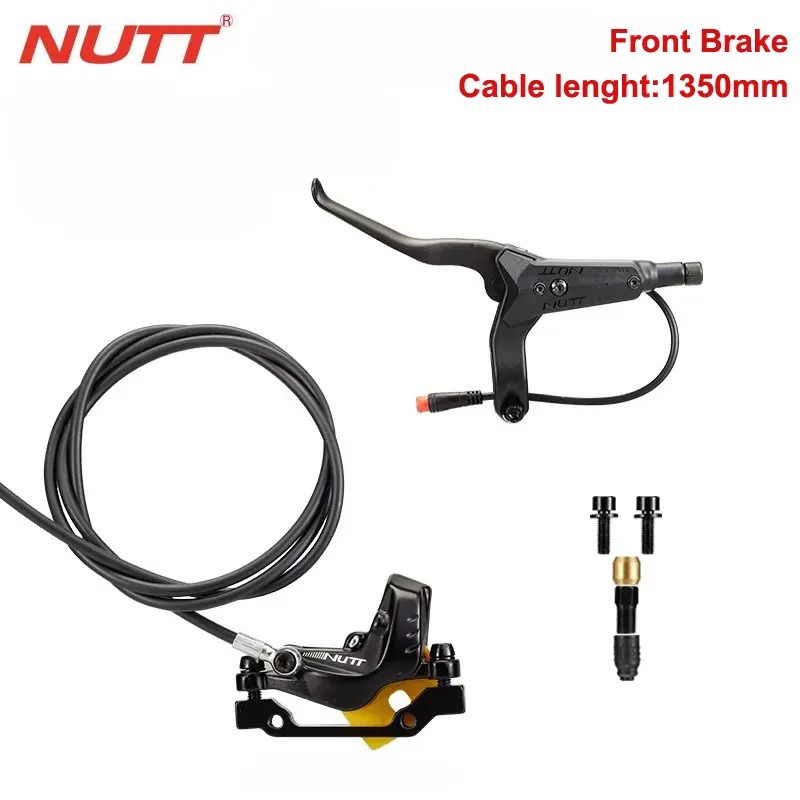
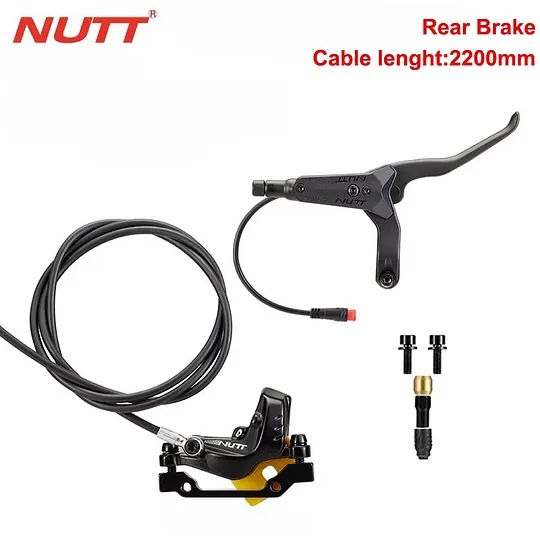
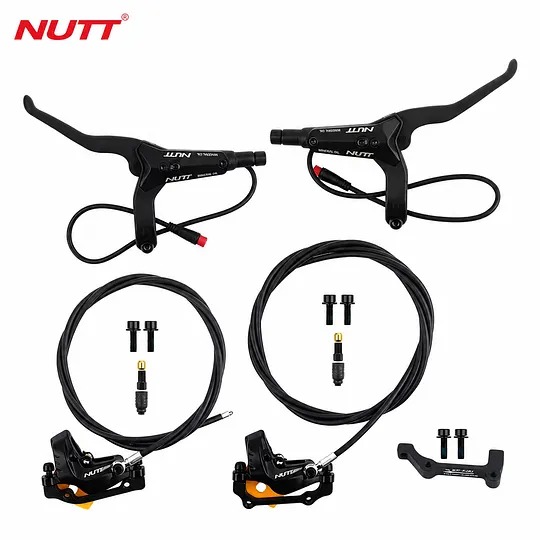
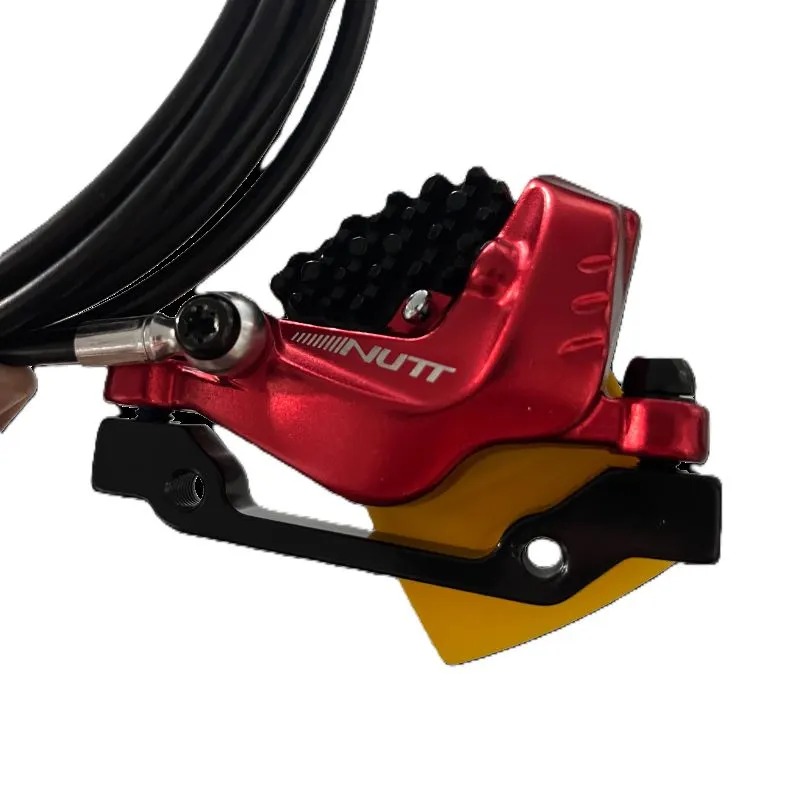
Free Shipping (7-14 Business Days Delivery)
All Prices Include VAT – No Extra fees
CE,DGT Certified – Compliant With EU Regulations
1-Year Warranty Included
Not sure which version fits? Send us these three photos and our mechanics will confirm the correct setup.
Show disc side, fork structure and caliper mount.

Show rear disc side, swingarm area and caliper direction.
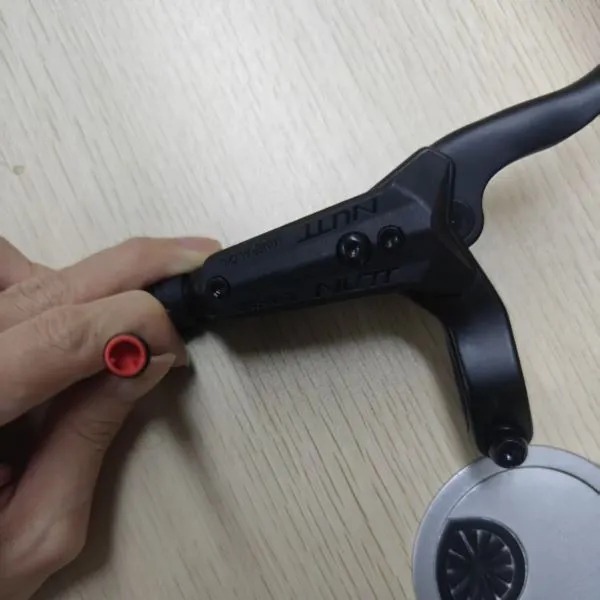
Show the power-off sensor connector shape and pins.
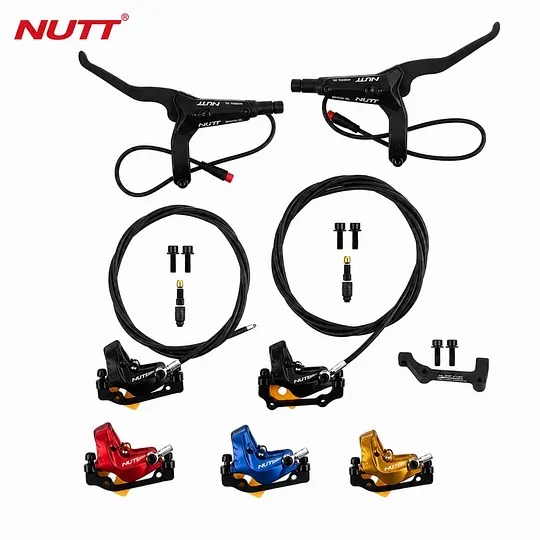
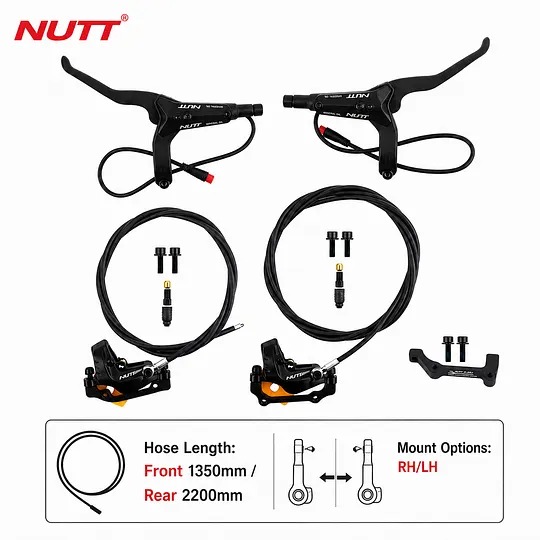
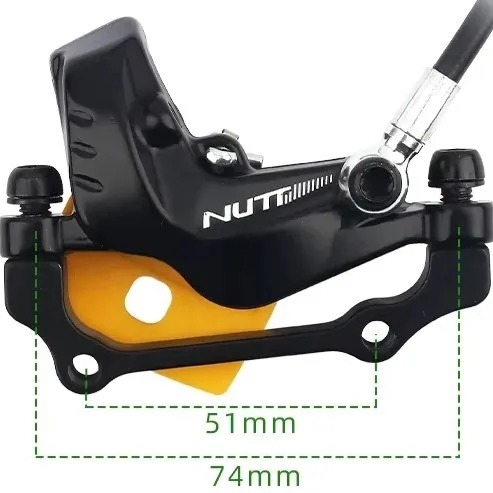
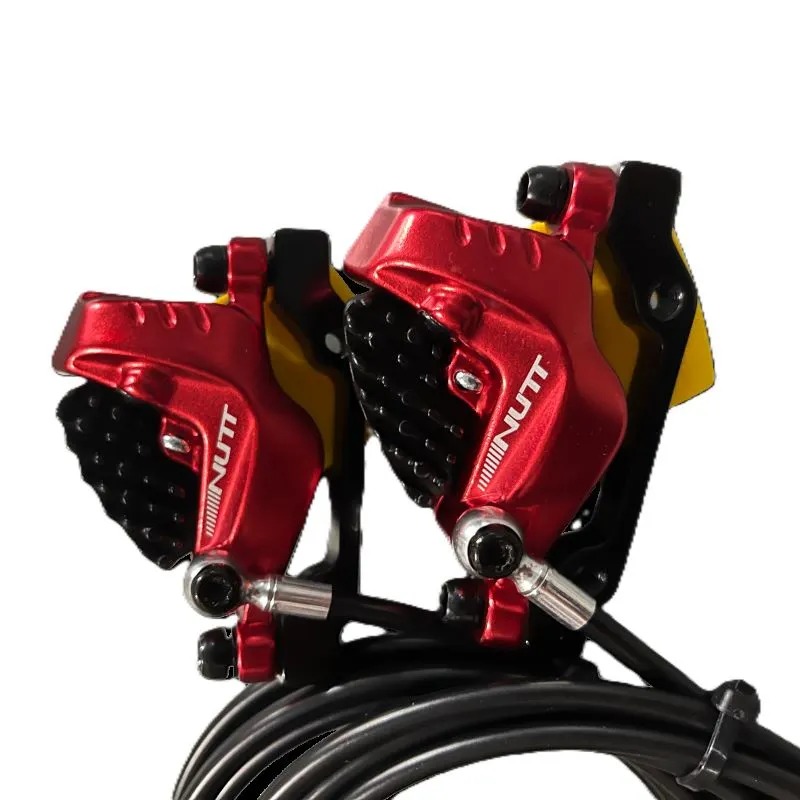
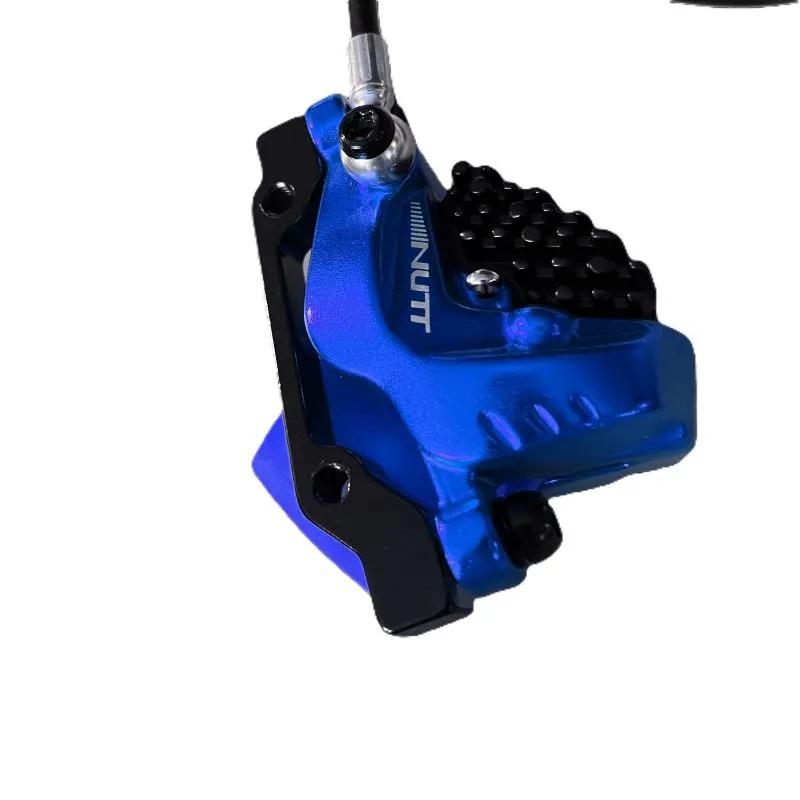
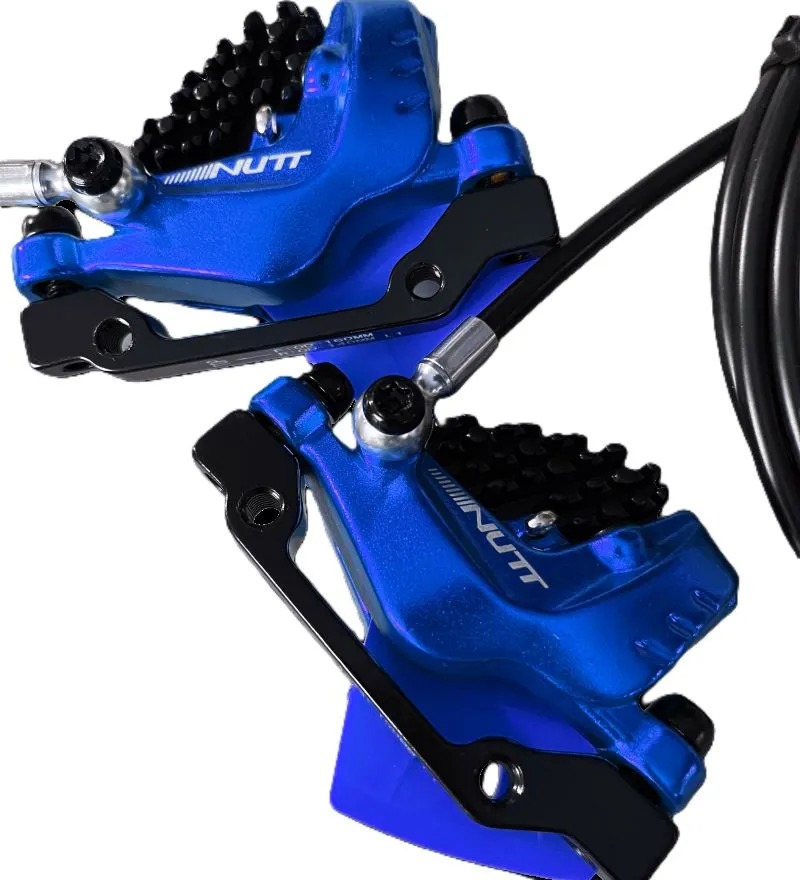
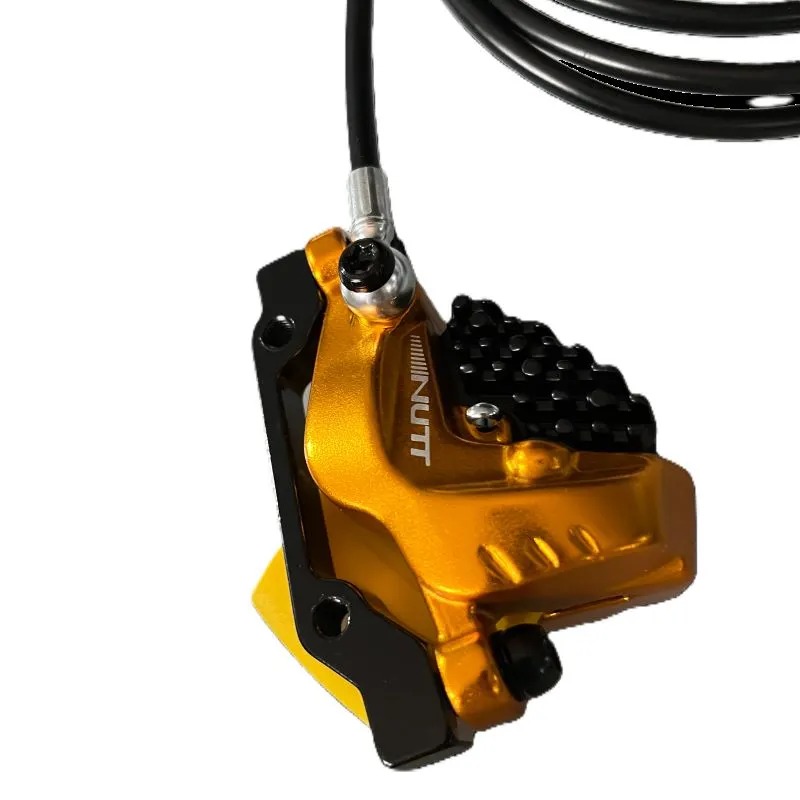
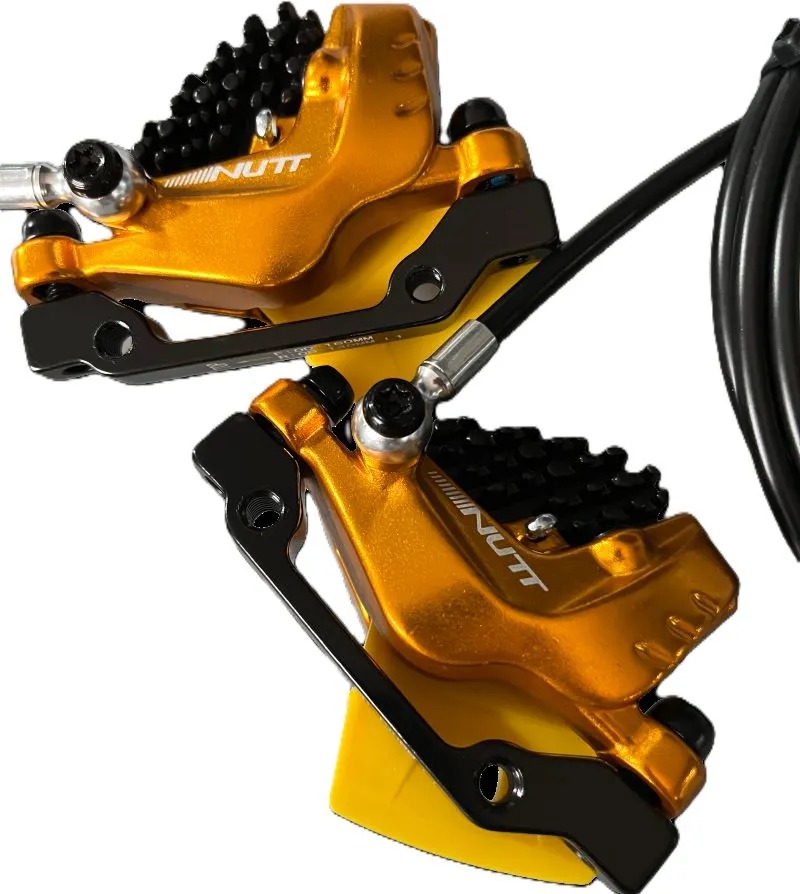
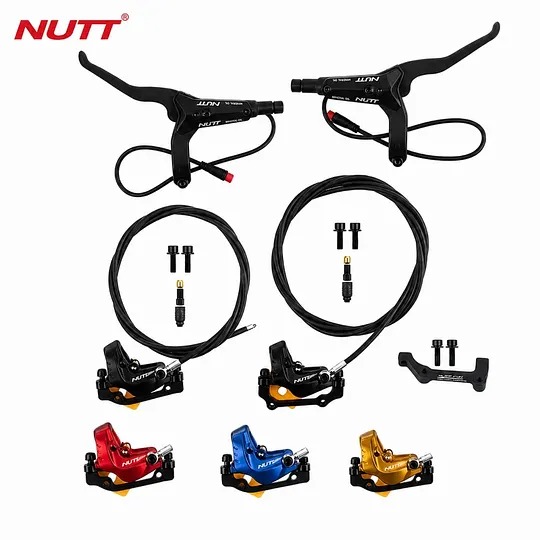
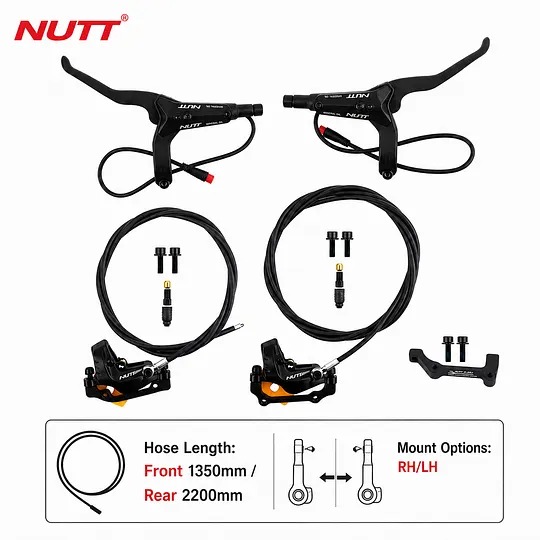
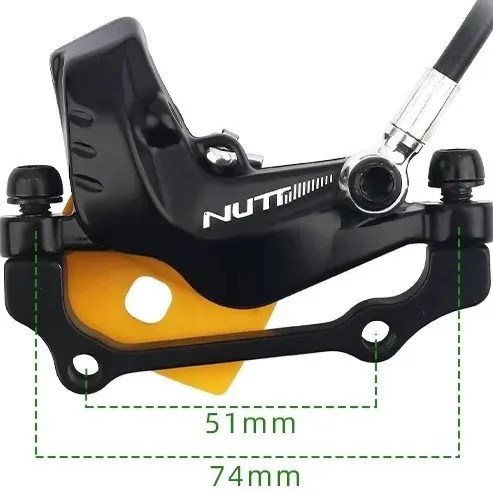
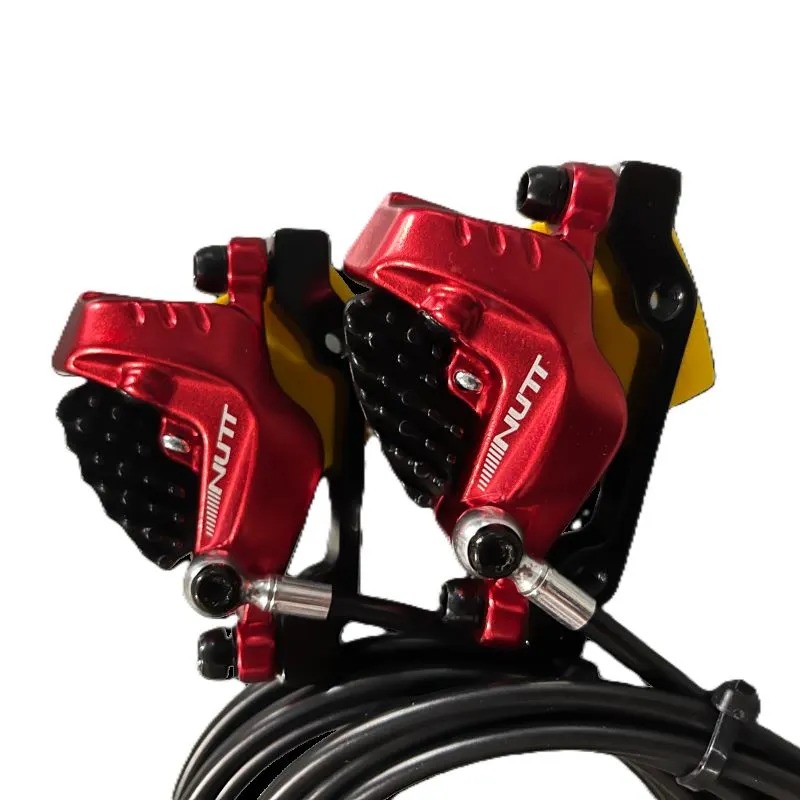
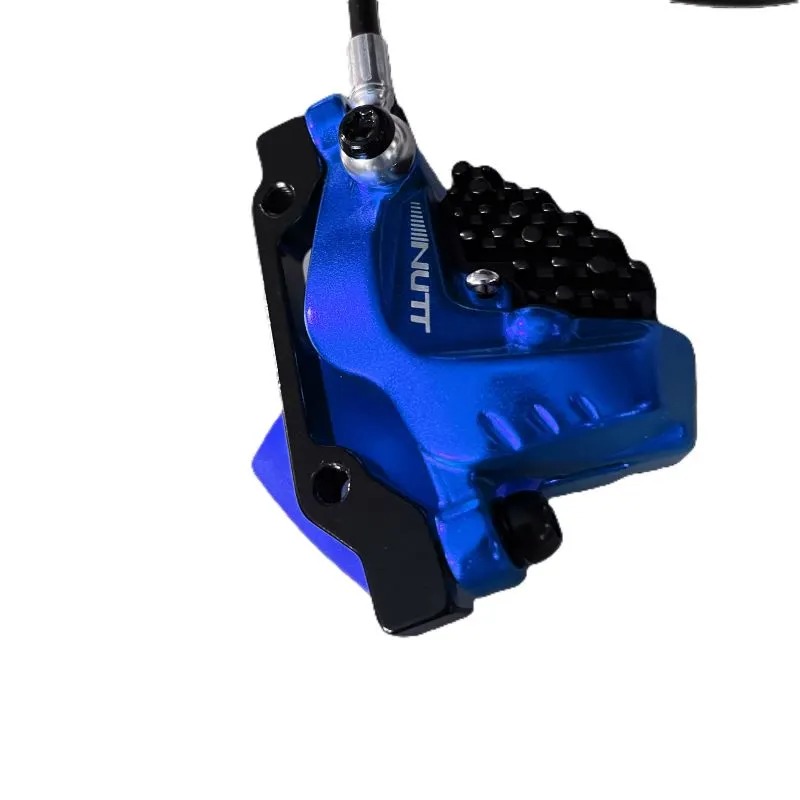
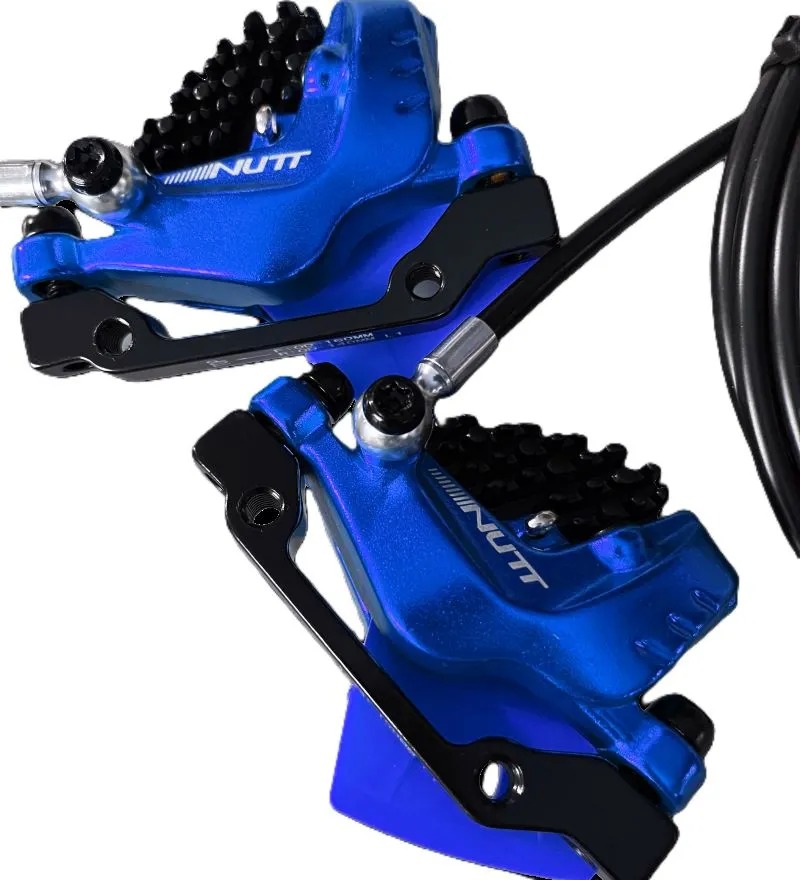
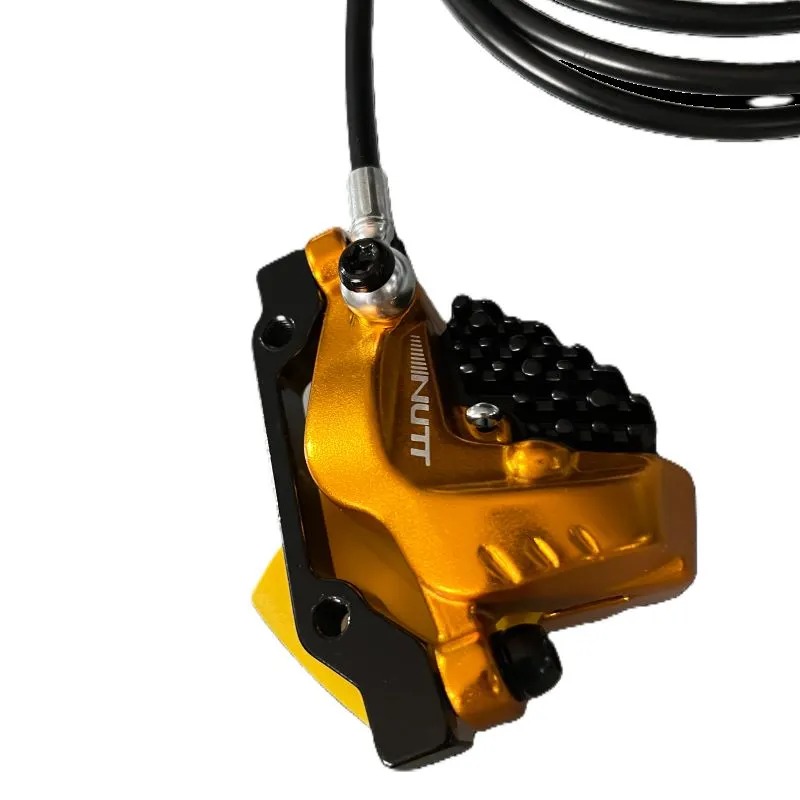
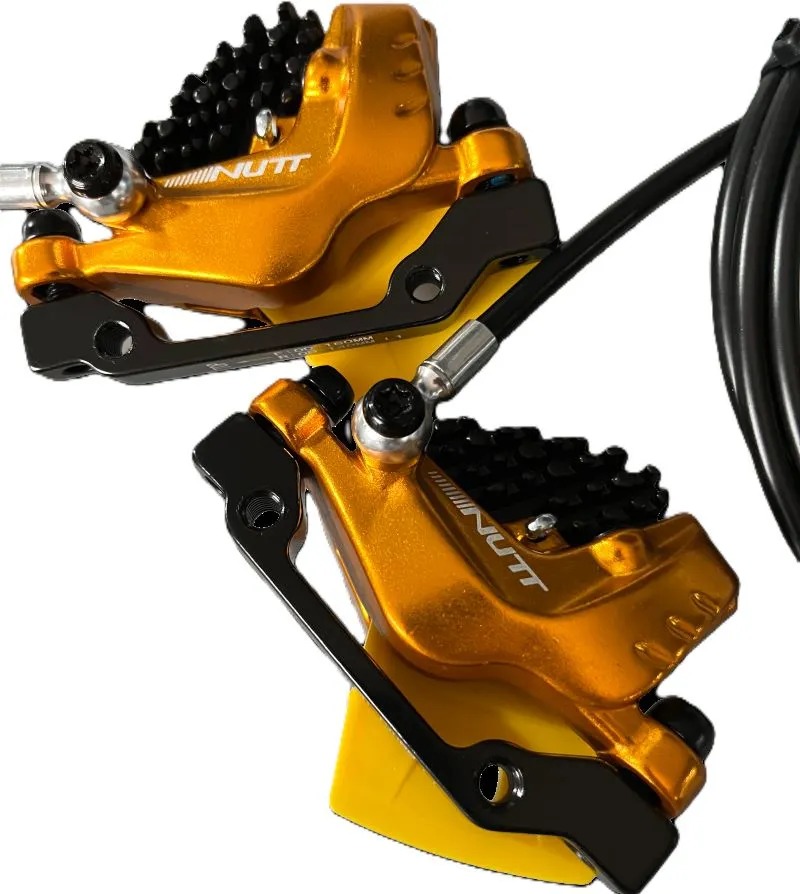
NUTT system uses an open hydraulic design with dual-piston calipers, forged aluminum construction, and mineral brake fluid.
Confirm the final configuration and SKU before purchasing.
| Applicable Model | ALL Off-Road & Youth E-Motose-bikes Models |
|---|---|
| Brake Type | 4-Piston Hydraulic Disc Brake |
| Safety Feature | Built-in motor power-off sensor |
| Braking Performance | Stable & powerful for daily & high-speed rides |
| Compatible Rotor Sizes | 140mm / 160mm |
| Sealing Design | Full leak-proof sealed hydraulic structure |
| Installation Status | Pre-bled & fully pre-assembled |
| Application Scenario | OEM replacement, aftermarket upgrade |
Package contents vary by selected position.
Position 01
Spacer is included only when selected.
Position 02
Confirm swingarm clearance before ordering.
Recommended
Best value for full braking system upgrade.
Compare the key differences between standard mechanical brakes and the NUTT 4-piston hydraulic brake system.
Standard cable-driven system
Advanced 4-piston hydraulic system
Installation & safety
Follow the fitment checks below before installing or riding with a NUTT hydraulic brake upgrade.
Check the scooter model, production version, front or rear position, rotor side, mounting type and brake connector. Confirm whether a spacer, adapter cable or original washer is required.
Make sure the caliper, lever, hose, brake pads and selected hardware match the purchased configuration. Do not install damaged parts or discard model-specific hardware before fitment is confirmed.
Secure the scooter before removing the original brake. Protect the rotor and hose area from contamination, and keep any original washers or model-specific parts for comparison.
Mount the lever and caliper using the correct hardware for the selected configuration. Keep the caliper aligned with the rotor and do not force parts into position.
Route the hose away from sharp edges, moving parts and folding points. Check the gap around the caliper, rotor, fork, swingarm, tyre and other components before final tightening.
Check lever operation, rotor rubbing, bolt security and motor power cutoff. Complete a controlled low-speed test in a safe area before normal riding.
loading